A Crafter's Guide To Painting On Foam Core
Transforming a simple sheet of foam core into a spectacular backdrop for a photoshoot or event is a rewarding project. Achieving that professional, flawless look is easier than you think and it all starts with choosing the right materials from the get-go. With the right approach, you can create stunning, durable pieces without the common frustrations of warping or bubbling.
The secret to success? It's all about using water-based acrylics and a quality primer to properly seal the board first. Let's dive into how you can master the art of painting on foam core.
Getting a professional, lasting finish on foam core isn't just about painting technique; it's about having the right tools for the job. The material's construction—a polystyrene foam center sandwiched between two paper faces—is what makes it so light and affordable. But that paper is also what makes it vulnerable to moisture. Choosing the right supplies is the single most important step to ensure your project is a success.
Foam core has been a go-to for displays for a while now. Its popularity really took off in the early 2000s when digital printing made it easy for event planners to create vibrant, large-scale backdrops and retail displays. By 2010, its use in the North American events industry had jumped by over 40%. Why? Because it costs just 20-30% of what you'd pay for traditional wood or metal. You can see more about EVA foam's material properties in our post about ethylene-vinyl acetate foam.
Not all foam core is the same, and the thickness and finish you pick will make a huge difference in your project's stability and final look. Before you even think about painting, you need to know what you're working with. For a deeper dive, this guide to understanding foam core board is a great resource.
The key benefit of foam core is its versatility. Once you understand you're painting on paper glued to foam, you see why priming and light paint coats are the secrets to unlocking its full potential for any project.
Once you've got your board, it's time to gather your paint and tools. The main goal here is to get the color on without soaking and damaging the paper surface.
Choosing the right paint is simple with this quick comparison. Here are the benefits of each option for your foam core project.
Ultimately, water-based acrylic paint is your safest and most versatile choice. It gives you great results without the risk of damaging your board.
A good primer is your project's best friend and your number one defense against warping.
Jumping straight into painting on foam core is tempting, but a little prep work is the secret to a professional outcome. Think of it like building a house—you need a solid foundation for everything to hold up.
Taking the time to prep your surface creates the perfect canvas for your paint to grab onto, ensuring the color goes on smoothly and stays put. Those few extra minutes at the beginning will pay off with a beautiful, durable final product.
This simple workflow is the key: start with your board, seal it with a good primer, and only then are you truly ready to paint.
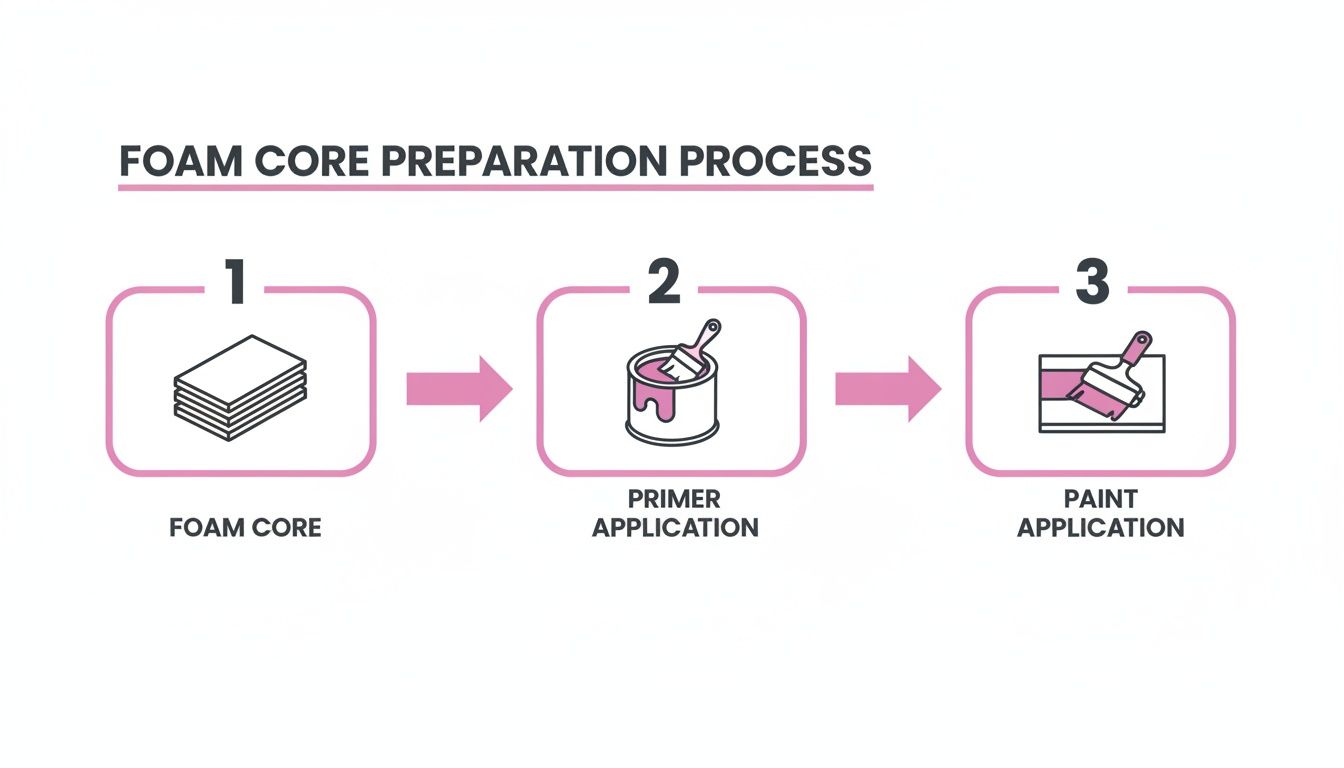
As you can see, priming isn’t just an extra step; it’s fundamental to getting a great result.
Your first job is to get the surface ready for that all-important primer. The paper face of foam core is quite smooth, so creating a little texture helps the primer get a solid grip.
Priming is the most important step for painting foam core. The paper surfaces will soak up moisture from water-based paint, which can cause swelling and warping. A good primer acts as a shield, sealing that absorbent paper and creating a stable, non-porous barrier between the foam and your paint.
You've got a few great options for this:
Here’s a pro tip: Always prime both the front and back of your foam core board, even if you only intend to paint one side. When primer dries, it creates tension. Priming both sides balances this tension, which is the secret to keeping the board perfectly flat as it dries.
A proper prime job also pays off in durability. For DIY crafters, foam core painted with acrylics can handle 500+ hours of outdoor exposure before fading, making it a surprisingly resilient choice for things like freestanding blooms in a retail display. The material's insulation properties have even led to a 15% rise in its use for festival installations between 2020 and 2025, where it has to hold up in varied climates.
Now that your board is properly prepped and sealed, you have a stable canvas ready for your creative vision. If you're weighing your options for other materials, you can check out our comparison of different types of foam for craft projects.
Alright, your foam core is prepped, primed, and ready to go. You've basically built the perfect canvas. Now for the fun part—bringing it to life with color. The way you apply your paint is going to completely define the final look, so it's worth taking a moment to get it right.
This is a strategic choice. Each technique gives you a totally different finish, from something with a bit of organic texture to a surface that’s flawlessly smooth. The three main methods—brushing, rolling, and spraying—all have their place. Knowing when and how to use each is what turns a simple craft project into a professional-looking piece.
Use Cases for Each Technique:
- Brushing: Best for detailed artwork, fine lines, and small craft projects like flower petals.
- Rolling: Ideal for large, solid-color surfaces like event backdrops and signage.
- Spraying: Perfect for creating smooth gradients, stenciling, and achieving a factory-like finish.
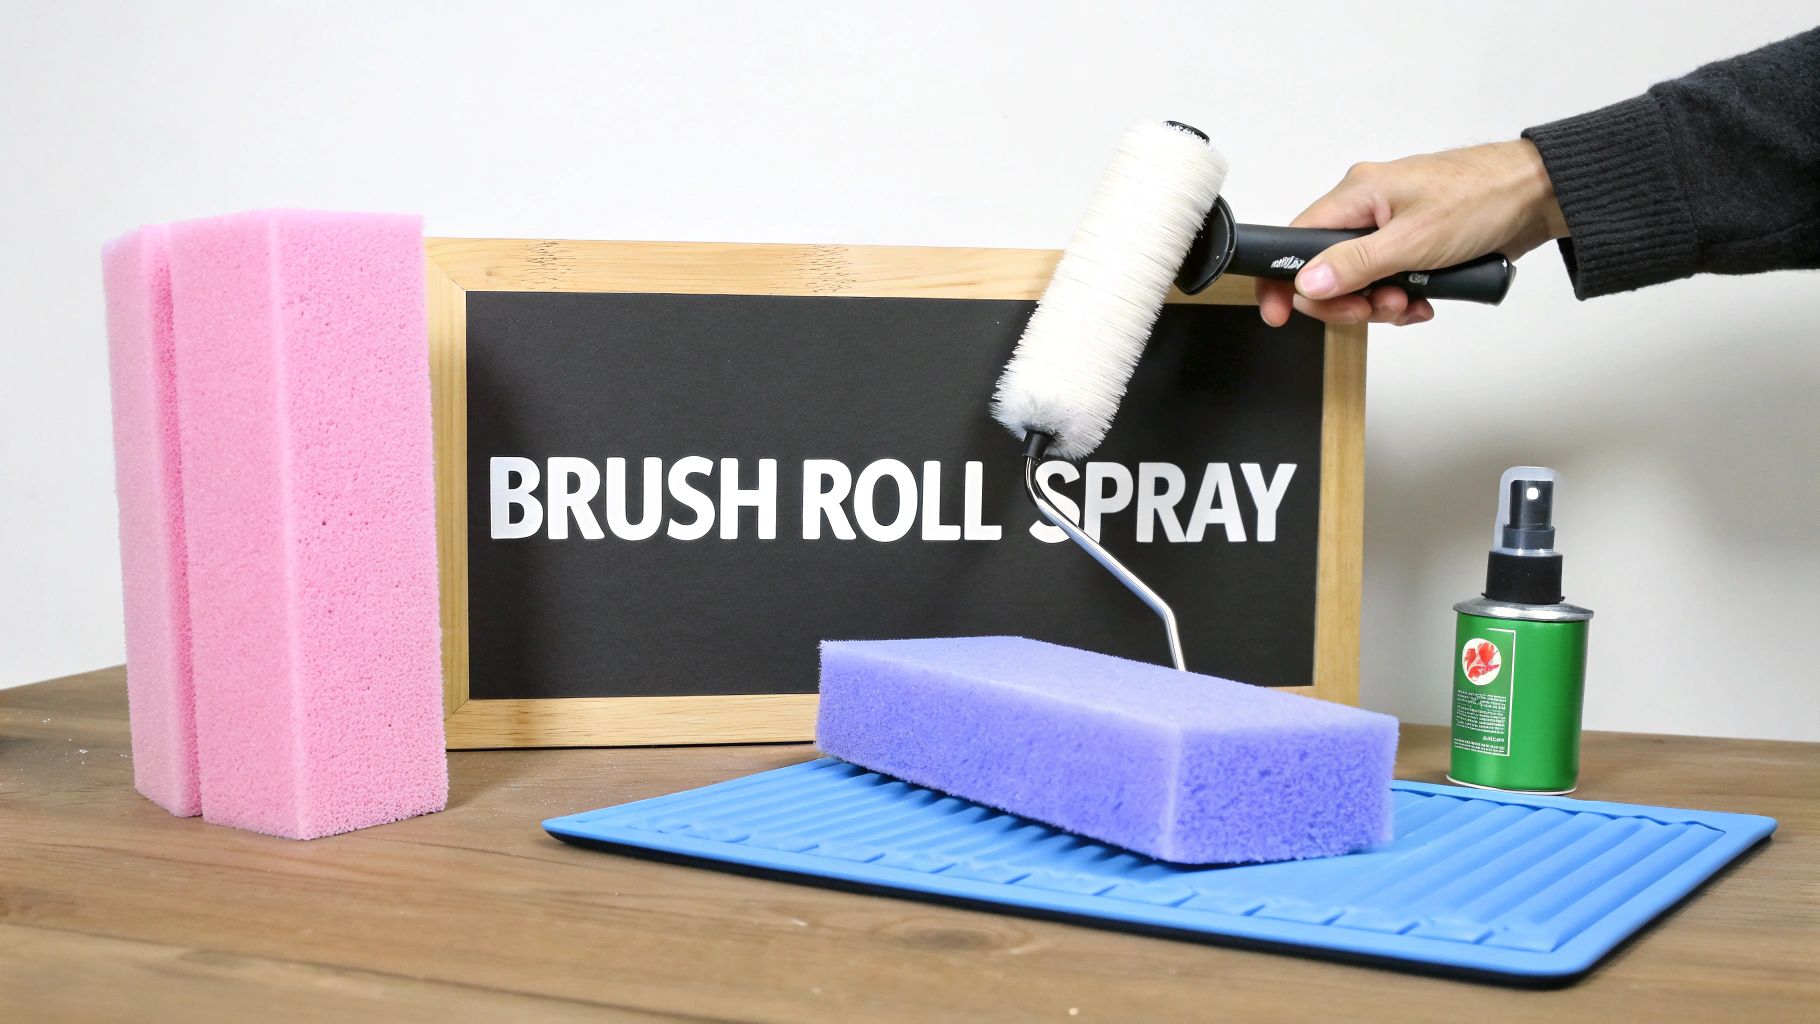
Let's break down where each of these methods really shines, so you can nail that stunning, camera-ready result you're after.
When your project demands precision, a brush is your best friend. The secret to a stroke-free finish is a soft-bristled synthetic brush. These are gentle on the primed surface and distribute paint evenly.
Steps for a Smooth Finish:
For big projects like large-scale backdrops or event signage, a roller is your go-to. It’s incredibly efficient, covering a ton of surface area quickly and leaving a consistent, lightly stippled finish that looks fantastic on camera.
For the smoothest possible finish, grab a high-density foam roller. The dense foam creates minimal texture and doesn't soak up too much paint, which helps prevent the board from getting oversaturated.
Benefit for Event Planners: Switching to painted foam core backdrops can reduce setup times by as much as 35%. It's the perfect solution for creating quick-deploy photo ops that turn crowds into brand promoters, delivering real ROI through user-generated content.
When you need that ultra-smooth, professional-grade finish with zero texture, it's time to reach for the spray can. This is the best way to create soft, beautiful gradients and use stencils for crisp designs.
Clear Steps for Spraying:
No matter which method you choose, don't forget that the shape of your project plays a big role. For some tips on creating custom shapes before you even think about painting, check out our guide on the best way to cut foam.
You’ve laid down that final, perfect coat of paint. It looks great! Now it’s time for the final, crucial steps. Taking the time to properly dry, cure, and seal your work is what makes the difference between a project that looks good and one that lasts, especially for event pieces that need to survive handling.
It’s easy to get these two mixed up, but knowing the difference between drying and curing is crucial. A painted surface might feel dry to the touch within an hour, but curing is the chemical process where the paint fully hardens and develops maximum durability, which can take days. Patience here is what guarantees a professional, long-lasting finish.
Where you let your project dry is just as important as how you painted it. Your goal is a clean, low-traffic spot with a stable temperature and humidity.
Here’s how to set up the perfect drying space:
Think of sealing as the armor for your project. This final layer provides a durable, protective shield for your painted foam core, guarding against scratches, moisture, and UV light. This is especially vital for items that will be handled or used outdoors, like the waterproof foam pieces in our DIY Giant English Rose kits.
The benefits of a good sealant include:
- Scratch Resistance: Adds a tough outer layer that can take minor scuffs and bumps during setup and transport.
- Moisture Barrier: Keeps humidity or a spilled drink from ruining the paper and paint.
- UV Protection: Stops harsh sunlight from dulling the vibrant colors you worked so hard on.
This durability is a huge reason why foam core is popping up everywhere in the events industry. While the building and construction sector accounted for 42.65% of engineered foam revenue in 2024, the events world is catching on fast, growing at a 5.32% CAGR. Event pros have found that custom-painted foam installations can slash costs by up to 25% while still looking incredible. You can dig into more of the data on how core materials are used across industries on coherentmarketinsights.com.
For event backdrops, I always recommend a matte spray varnish. It eliminates glare from flash photography, ensuring your piece looks perfect in every picture. A gloss finish might look striking in person but can create distracting reflections on camera.
The sealant you choose comes down to the look you want. You can find clear acrylic spray varnishes in matte, satin, or gloss finishes, or use a brush-on sealer like Mod Podge. The technique is the same: apply it in thin, even coats after the paint has fully cured. This final touch truly elevates your project to a professional grade.
Even when you do everything right, painting on foam core can sometimes present challenges. The good news is that most issues are common, totally fixable, and easy to avoid once you know the cause.
Most often, the issue comes down to how the paper facings on the foam core react to moisture. Let’s walk through how to diagnose and fix these common hiccups.
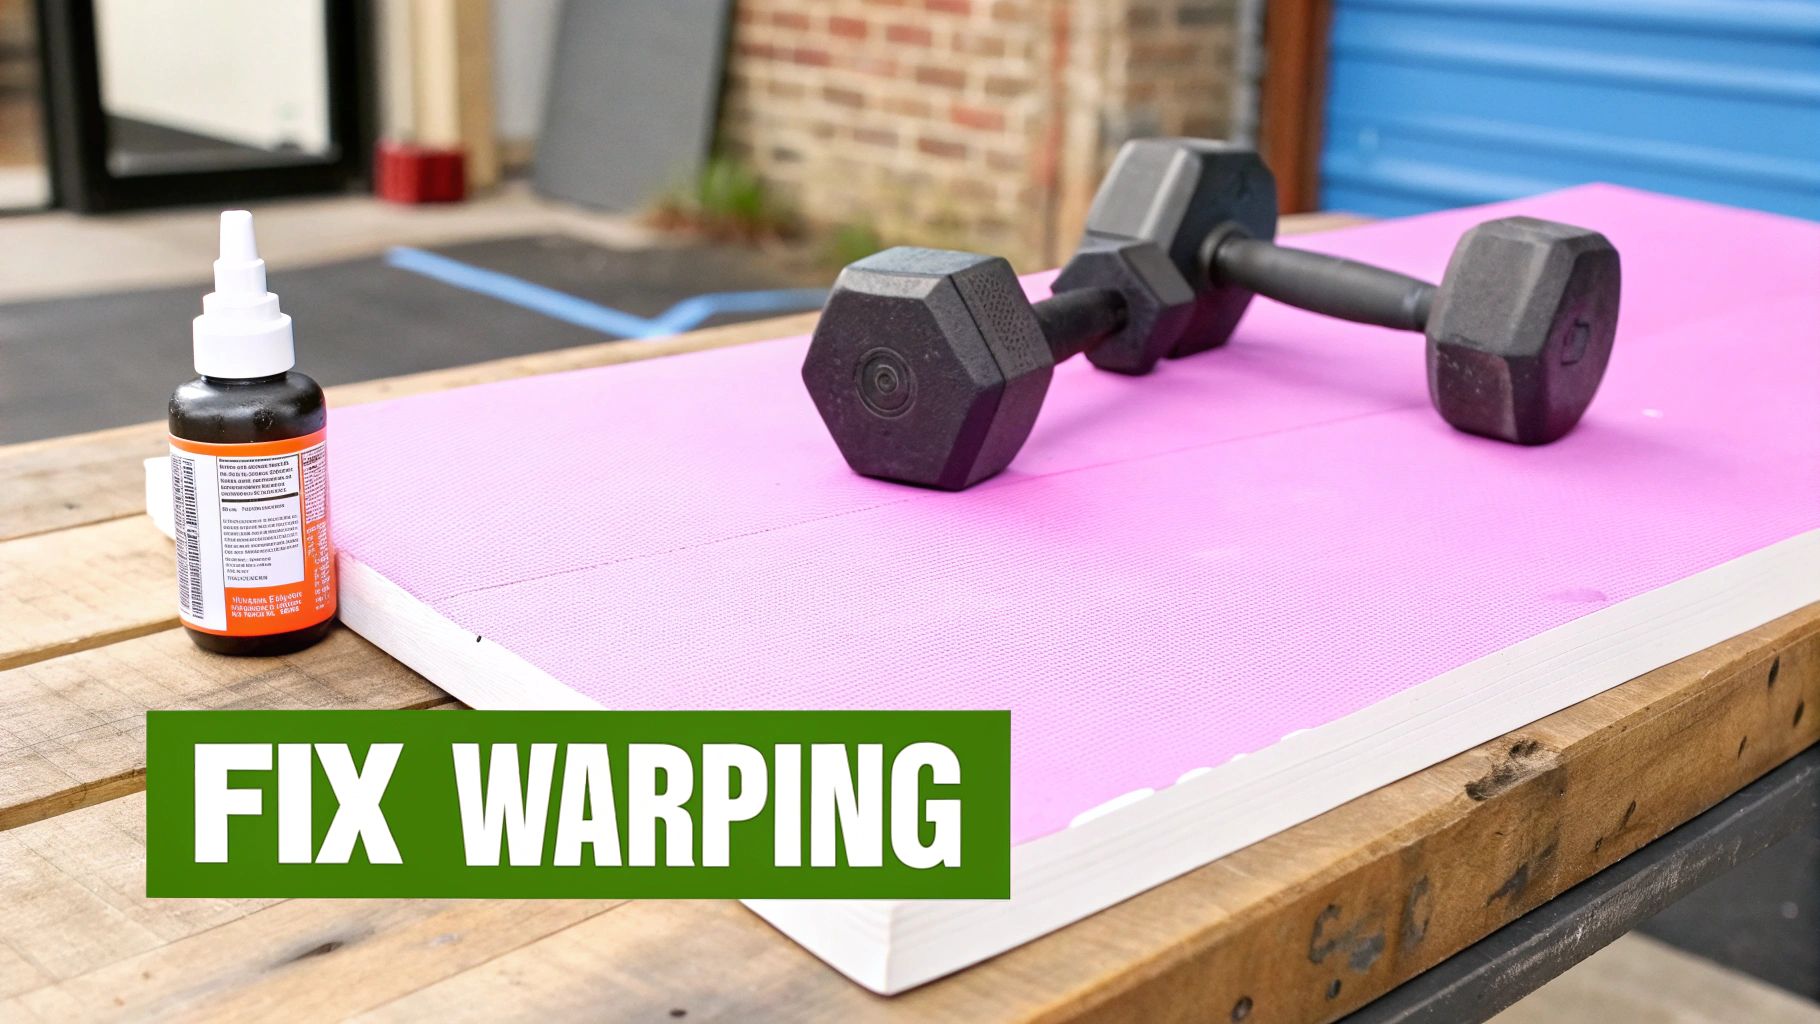
Warping happens when one side of the board absorbs moisture from the paint and expands, while the dry side stays put. The fix is all about restoring balance.
Here are your solutions for warping:
Bubbles or peeling paint are signs that the paint isn't sticking properly to the primer. This usually happens if the primer wasn't fully cured or the surface had lingering dust or oils on it.
The key to a lasting finish is ensuring each layer—from primer to paint to sealer—is a team player. A small bubble is a sign that one layer isn't bonding with the one beneath it. Fixing it correctly ensures the whole system works together seamlessly.
Here's a step-by-step repair process:
Getting a solid, even color can be tricky. The key is to avoid applying one thick coat.
Patience and layering are your best friends here. It is always better to apply three thin, even coats than one thick, heavy one. Let each layer get tack-free before you add the next. This method gradually builds up a rich, opaque color without oversaturating the paper.
The ability to achieve seamless color matching is a huge benefit for event professionals. For wedding planners, historical data shows that foam core installations boosted venue photo shares by 28% during peak seasons. As event organizers become more eco-conscious, innovations in bio-based and recycled foams are also gaining traction. You can find more details on this trend and the growing industrial foam market on towardspackaging.com.
Now that we've walked through the core techniques, let's tackle some of the specific questions that pop up most often. I've gathered the most common queries we get from creators to help you get straight to the fun part.
For the best results, stick with water-based acrylic paints. They are low odor, quick to dry, easy to clean up, and won't damage the foam core.
Avoid heavy, solvent-based paints like traditional oil paints or industrial enamels. The chemical solvents can dissolve the polystyrene core.
No matter what acrylic you use, priming is non-negotiable. Always start with a water-based primer to seal the paper surface. This one step is your best defense against moisture and warping.
How Is Painting Foam Core Different From Painting EVA Foam?
This is a great question, and the answer comes down to their fundamental structures. Knowing the difference will help you pick the right material for your project right from the start.
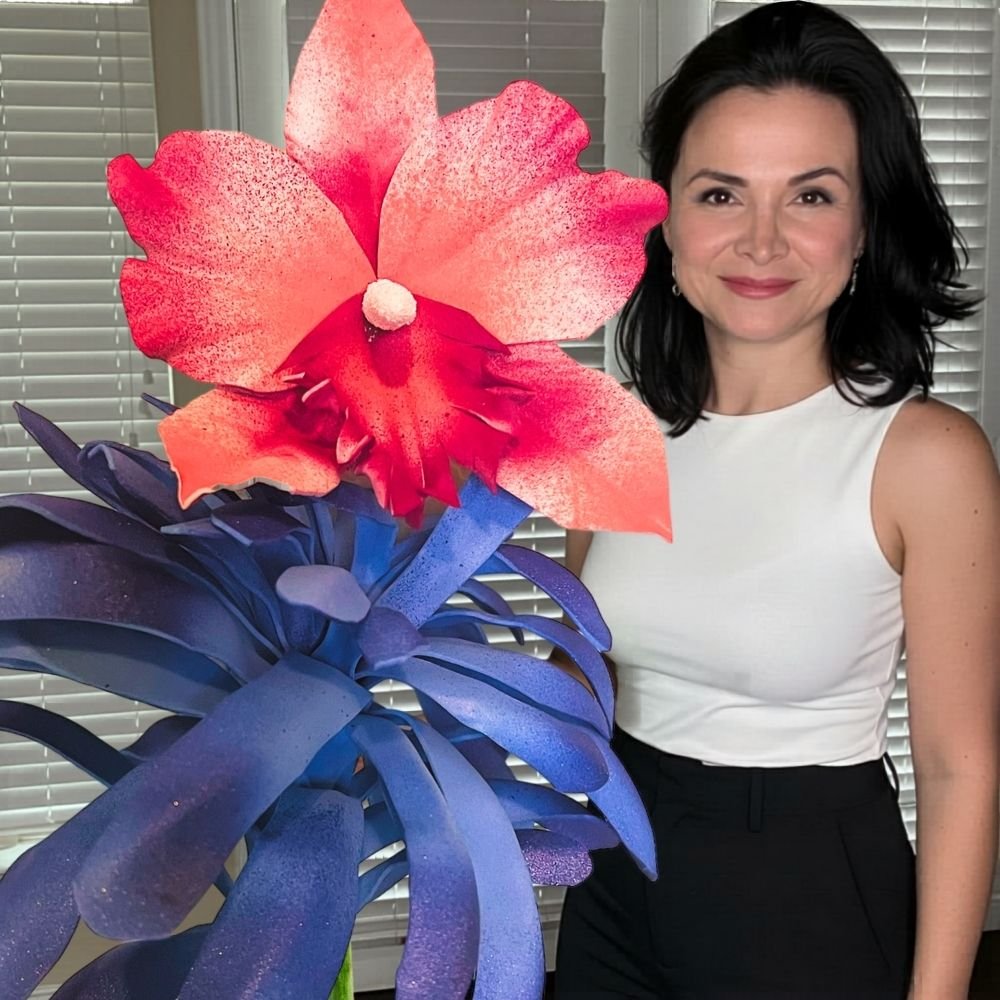
The easiest way to think about it is this: Foam core is your go-to for flat, rigid pieces like signs and backdrops. EVA foam acts more like a flexible fabric, ideal for building sculptural pieces like our giant flowers that need to bend and hold their shape without the paint cracking.
Warping is almost completely preventable. It happens when the paper layers absorb moisture unevenly.
Here are the best prevention methods:
If you still see a slight curve, you can often flatten it out by laying the board under a stack of heavy books while it finishes drying.
For razor-sharp lines and perfect geometric patterns, good painter's tape is your best friend. Use a tape made for delicate surfaces to avoid peeling off the foam core's paper layer.
Here’s a foolproof method for perfect lines:
If you're looking for more materials and ideas, feel free to browse our curated collection of flower-making supplies.
Ready to build your own show-stopping creations? At Amazing Giant Flowers, we have everything you need to bring your vision to life, from complete DIY kits to stunning custom installations. Explore our collection and start making something unforgettable at https://www.amazinggiantflowers.com.
Built with Outrank tool
Ready to Create Something Amazing?
Browse our collection of giant flower kits and start your next project.
Shop All Flowers