The Best Way to Cut Foam for Flawless DIY Crafts
To create stunning, professional-looking giant flowers, you must master the art of the cut—it's the single most important first step. For crafters working with standard EVA foam, the solution is simple and effective: a sharp, heavy-duty utility knife. It provides the best combination of control and cost-effectiveness for creating intricate petal shapes.
However, if your project involves much thicker foam or you're scaling up production, a hot wire cutter could be your new best friend. It delivers perfectly sealed, clean edges that a traditional blade simply can't replicate.
When you're crafting giant foam flowers, the quality of your cut lays the groundwork for the entire project. It's what separates a project that looks "homemade" from one that looks like a professional, artistic installation. A clean cut is about more than just aesthetics—it’s about precision and durability, ensuring your creation is both beautiful and long-lasting.
Think of it like tailoring a custom suit. If the initial fabric cuts are even slightly off, the seams will never line up, the garment won’t hang right, and the whole thing will look amateur. The same exact principle applies to your foam creations.
Benefits of Mastering Foam Cutting
Getting a clean, precise cut from the start saves you a world of headaches down the line. It allows you to focus on the fun part—the artistry—instead of struggling with difficult assembly. The benefits are immediate and impactful.
This guide is all about moving past frustrating, jagged edges. You'll learn the techniques that elevate your work from a simple hobby to a true art form. We’ll get into both manual and automated methods, giving you the know-how to choose the best way to cut foam for any project you can dream up.
Getting a clean, professional cut in foam all comes down to using the right tool for the job. This is the secret behind those flawless, crisp edges you see on high-end giant flower displays. The right tool saves you time, prevents you from wasting expensive foam, and makes the entire process more enjoyable.
It’s not as simple as just grabbing whatever is sharp. You have to match the tool to the foam's density and the kind of shape you’re trying to create. This is where you really level up from just crafting to creating true art.
For most creators making giant flowers out of EVA foam, manual tools offer the best mix of control, precision, and affordability. You don't need an expensive workshop to get started—just a few reliable basics.
As your projects grow in size or complexity, specialized tools can dramatically speed up your workflow and provide a finish that’s tough to achieve by hand.
Your cutting tools are only part of the story. The right accessories are just as important for safety and accuracy.
Once you have your tools and accessories ready, you’re all set. The last piece of the puzzle is the foam itself, and you can find fantastic, versatile options like these EVA foam rolls perfect for crafting.
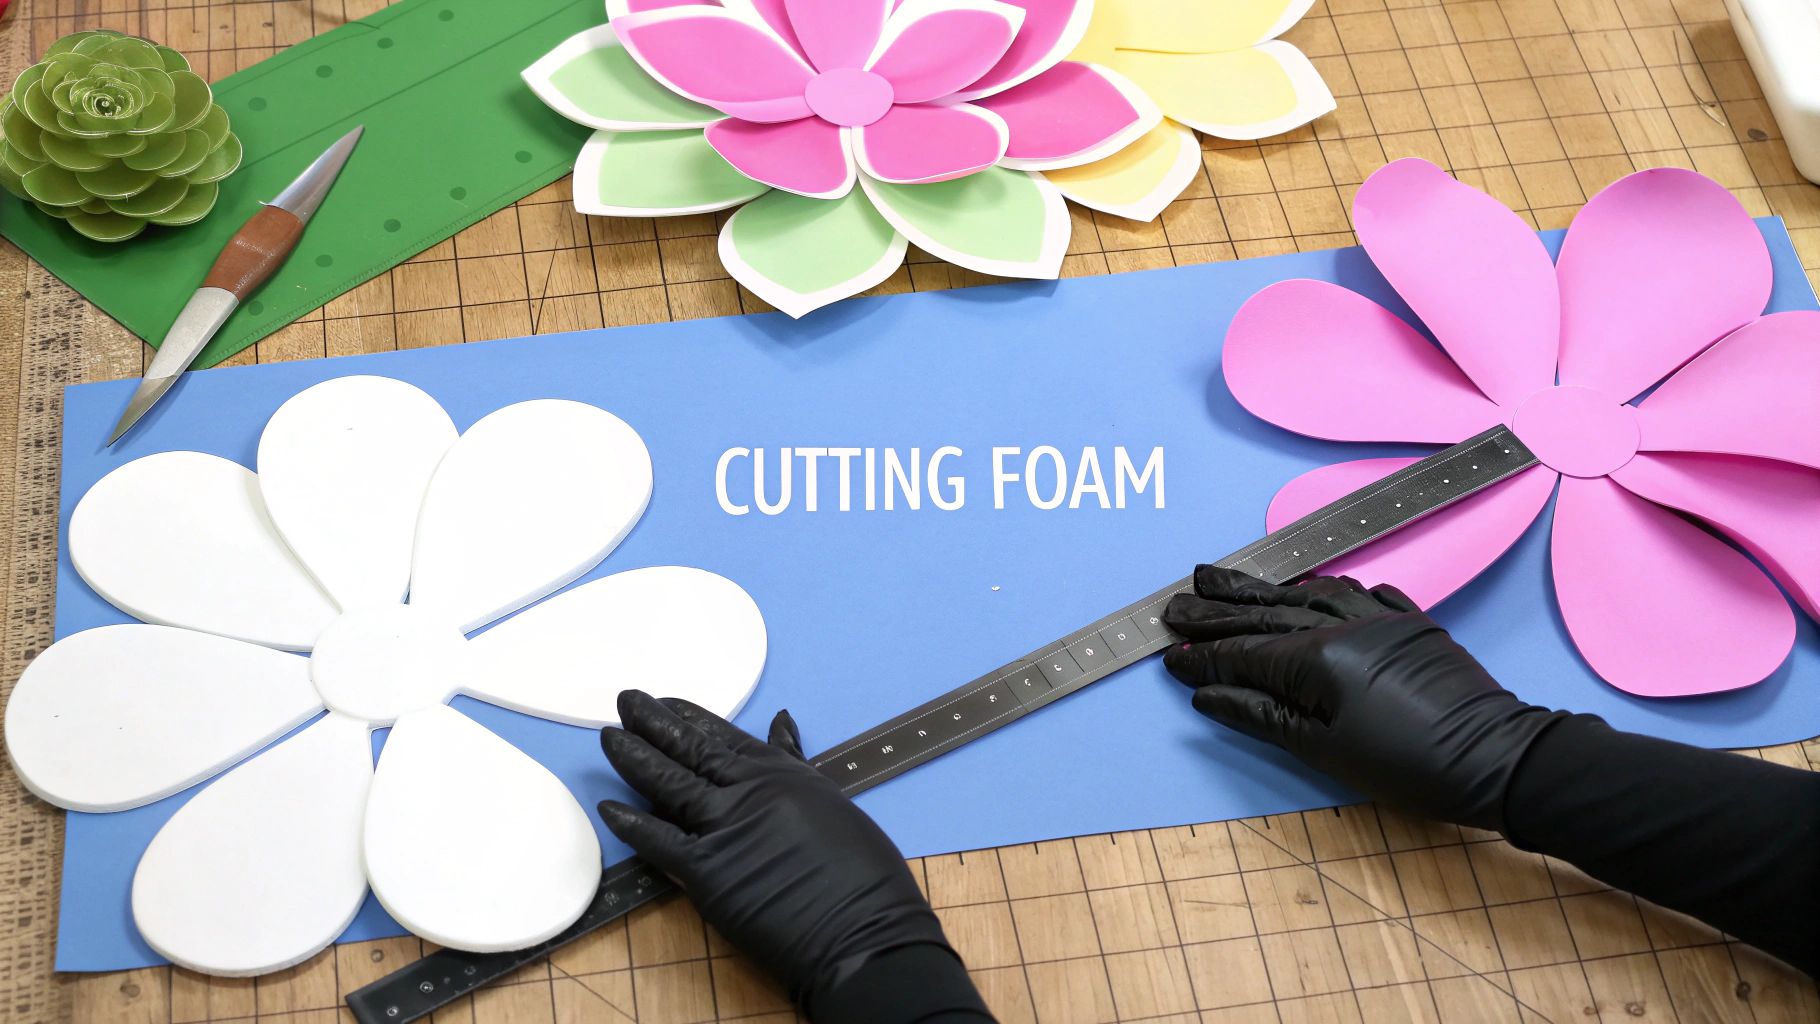
Once your tools and workspace are ready, it's time to cut. This is where skill and technique separate amateur-looking crafts from truly professional pieces. Learning to guide the blade with confidence is what creates clean edges and perfect shapes, whether you're slicing a long stem or shaping a delicate rose petal. The best way to cut foam isn't just about having a sharp knife; it's about understanding how to move the blade through the material.

For giant flower stems or geometric backdrops, a perfectly straight cut is non-negotiable. Here’s how to achieve it, especially for foam thicker than 3mm:
For thinner foam (around 1-3mm), you can often use a "score and snap" method: lightly drag your blade along the ruler to score the surface, then gently bend the foam along that line until it snaps cleanly.
Curves are the soul of a giant flower, defining the soft, organic look of every petal. The key to a smooth arc is to move the foam, not just the knife.
Angled edges, known as bevels and chamfers, add incredible depth and help petals nestle together more naturally. This subtle detail makes a world of difference in the final product. To create one, hold your blade at an angle—a 45-degree angle is a great place to start—instead of perpendicular to the foam.
Use Cases for Angled Cuts:
Cutting through thick foam (10mm or more) can be intimidating. The main challenge is blade drag, where friction causes the blade to bend and tear the foam. The solution is a methodical, multi-pass technique.
For professional crafters and event planners, there comes a point where cutting by hand is no longer efficient. When you need hundreds of identical petals for a massive brand activation or an unforgettable wedding backdrop, consistency and speed are everything. Automated cutting systems eliminate the inconsistencies and slow turnaround times of manual work, delivering the reliability you need for large-scale projects.
A CNC (Computer Numerical Control) foam cutter is a game-changer. It takes a digital design file and translates it into perfectly executed physical cuts with incredible accuracy. You can design the most intricate petal imaginable, and the machine will reproduce it flawlessly every time.
According to Verified Market Research, this technology is a key reason the foam cutting machine market is growing rapidly.
Benefits of CNC Cutting:
A full industrial CNC machine is a serious investment. For businesses just beginning to scale, more accessible options offer automated magic without the hefty price tag.
Use Case: Die-Cutting Machines
- The Scenario: You land a gig creating 50 elaborate centerpieces, each requiring 20 identical leaves. That’s 1,000 leaves to cut by hand!
- The Solution: An electronic die-cutting machine can automate this entire tedious process. These machines are surprisingly capable of handling thinner EVA foam and are workhorses for churning out smaller, repeatable shapes.
- The Outcome: You get perfectly uniform leaves while you focus your energy on shaping the larger, more prominent petals.
When you're ready to feed a bigger machine, materials like these large-format EVA foam rolls are perfect for scaled-up production.
Even with the best tools, cutting foam can sometimes be frustrating. You might follow all the steps and still end up with a wavy line or a ragged edge. Fortunately, these issues are almost always fixable. Knowing how to cut foam isn't just about the initial technique—it's also about knowing how to diagnose and solve problems as they arise.
A wavy cut is a common headache, but it usually comes down to technique, not the tool. The culprits are often inconsistent pressure or a poor blade angle.
Here are the steps to fix this instantly:
A torn, shredded edge can ruin the look of a flower petal and make assembly impossible. The number one cause is a dull blade. Foam, especially Ethylene-Vinyl Acetate foam, demands a razor-sharp edge to slice cleanly.
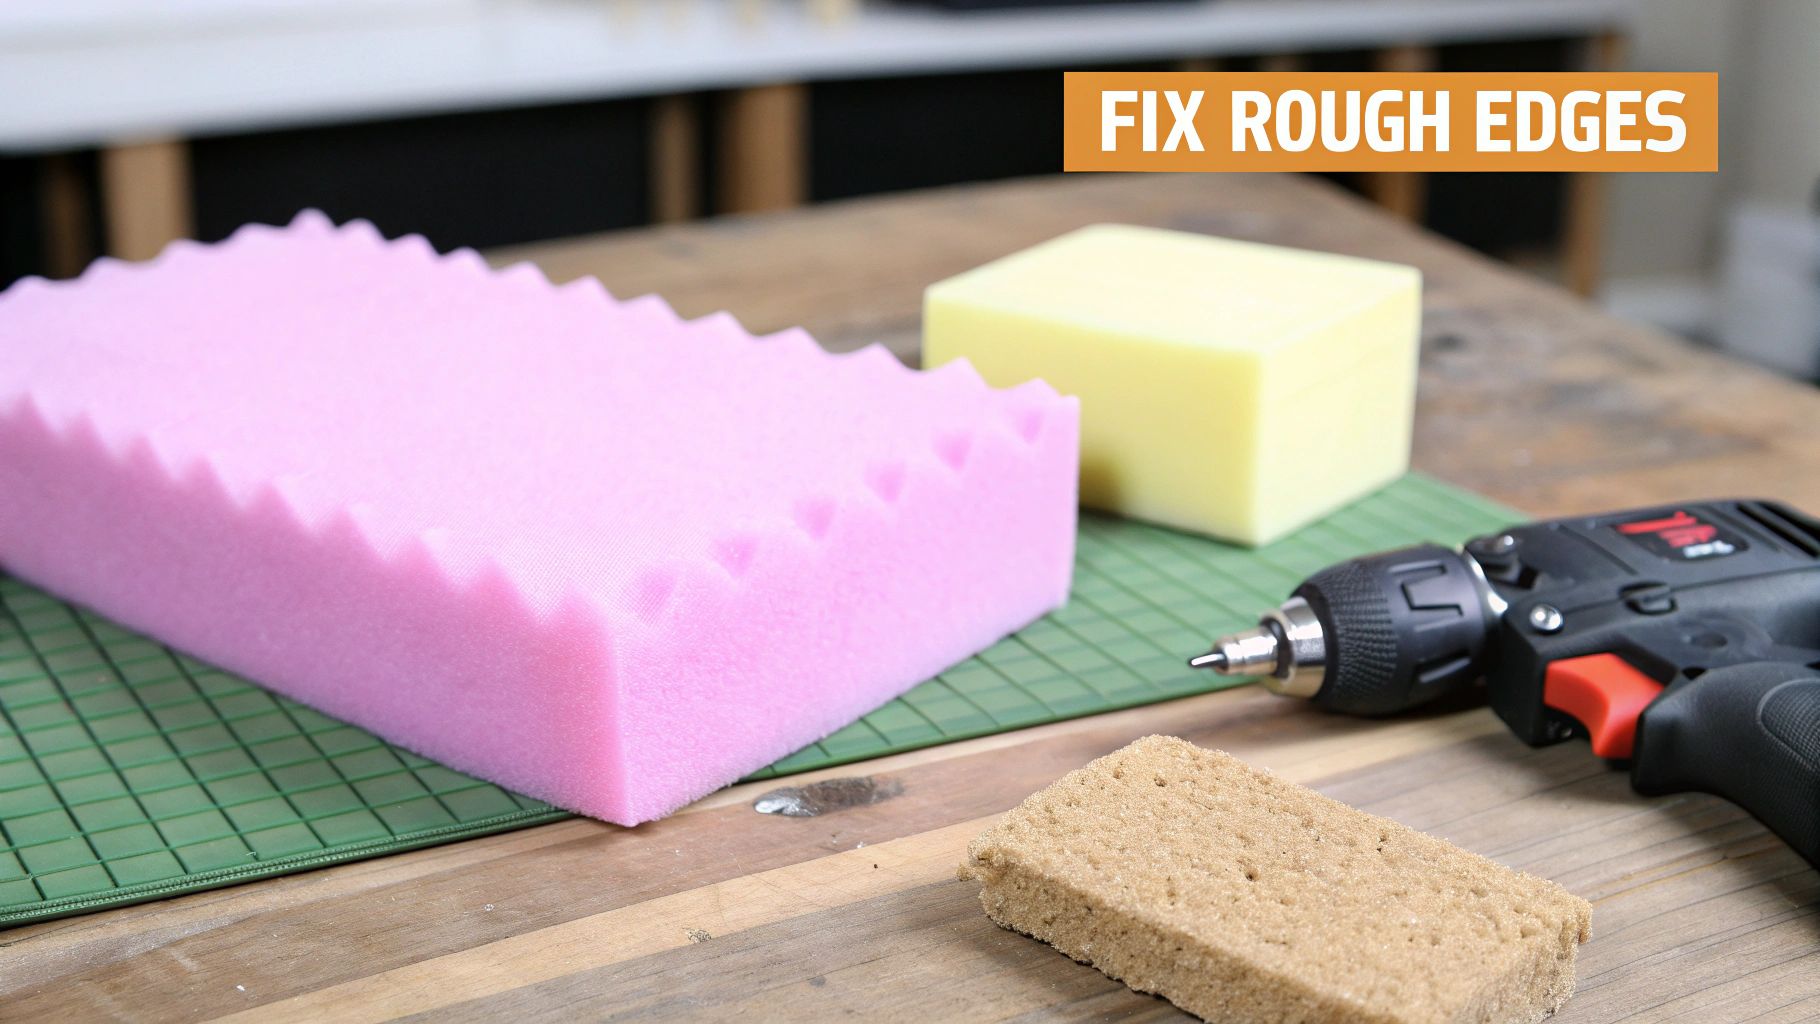
Sometimes, a technically perfect cut can still leave a slightly fuzzy texture. Cleaning this up is a simple finishing step that elevates your project from "good" to "great."
Effective Finishing Techniques:
Even with the best techniques, specific questions often come up. Nailing these details can help you move past frustrating hangups and start producing clean, professional work every time.
For most EVA foam projects, the champion is a standard, heavy-duty utility knife. The magic isn't in a fancy brand—it's all about sharpness. A brand-new blade glides through foam, leaving a perfect edge. For intricate curves on thinner foam (2-5mm), a craft knife like an X-Acto provides extra control.
Pro Tip: Always start a new project with a fresh blade. The second you feel any resistance, swap it out. A dull blade is the #1 cause of messy cuts.
Getting smooth, clean lines is totally achievable. Run through this quick checklist to diagnose the issue:
While tempting, scissors are not recommended for the thicker EVA foam used in giant flower making (3mm and up). Here’s why this is a common paint point for beginners:
Ready to turn your creative vision into a breathtaking reality? At Amazing Giant Flowers, we offer the highest-quality EVA foam, complete DIY kits, and expert tutorials to help you create unforgettable floral installations. Whether you're an event pro, a brand marketer, or just a passionate creator, we have everything you need to succeed.
Explore our collection of giant flower kits and premium crafting supplies today!
Prepared with Outrank app
Ready to Create Something Amazing?
Browse our collection of giant flower kits and start your next project.
Shop All Flowers