A Crafter's Guide to Giant Paper Flower DIY

Creating a beautiful giant paper flower is a rewarding project that transforms any space. The process is straightforward when broken down into clear steps. This guide simplifies the journey, ensuring you can produce a stunning, professional-looking bloom with confidence. By focusing on a solid foundation and methodical assembly, you'll avoid common frustrations and achieve a flawless result every time.

If the thought of making giant paper flowers seems daunting, this guide is here to help. We'll turn what appears to be a massive undertaking into a genuinely fun and rewarding project. We will focus on clear, actionable steps to build your confidence and help you create something truly spectacular.
Choosing to make your own giant flowers is about more than just crafting; it's about creating high-impact decor on your own terms. This approach gives you total creative control and comes with some surprisingly practical benefits.
The secret to a professional-looking flower isn't magic. It's method. The outcome depends on three key actions: carefully shaping each petal, building a strong core structure, and layering everything just right. Master these, and you'll create a flawless giant flower.
The desire for handmade, personalized decor is growing rapidly. The global artificial flowers market, which includes the booming paper flower scene, hit USD 3.09 billion in 2024 and is projected to reach USD 4.49 billion by 2030.
The growth in paper flowers is particularly notable, with an 8.2% CAGR. This is largely driven by eco-conscious crafters who prefer sustainable and customizable paper alternatives. You can explore the full research on this growing market trend from Grand View Research. This isn’t just a passing hobby; it’s part of a larger shift toward personalized and sustainable creativity.
Before shaping your first petal, gathering the right supplies is crucial for a smooth and successful project. Having everything ready from the start eliminates frustration and interruptions. Your materials are the foundation; the right choice will completely change the final look, feel, and even the lifespan of your flower.
Choosing your primary material is the most important decision. To make it easier, here's a quick breakdown of the most popular options and their ideal use cases.
Your choice comes down to your project's specific needs. Cardstock is a fantastic and affordable starting point for indoor pieces, but for durability and weather resistance, EVA foam is the superior choice.
A few key tools will make all the difference in achieving professional results.
If you want to skip the tracing and cutting, a pre-made DIY kit from Amazing Giant Flowers is a fantastic time-saving option. These kits include pre-cut EVA foam petals and all necessary supplies. For those using foam, understanding the different types is beneficial. Explore our guide on choosing the right foam for your project for more details.
This is where your carefully cut pieces become a stunning, three-dimensional flower. By following a simple, reliable method, you can build a professional-looking bloom every time.

Your material choice dictates the final result. Now, let’s get those petals ready.
Flat, lifeless petals are a giveaway of an amateur project. Giving each petal dimension is one of the easiest and most impactful steps.
If you’re working with EVA foam, a quick pass with a heat gun makes the foam pliable for gorgeous, permanent curves. For guidance, check out this guide on the best way to cut and handle foam.
The secret to a natural-looking flower is slight imperfection. Vary the curl on each petal—some tighter, some looser. This subtle variation makes the final bloom look truly organic and alive.
A strong, stable core is the foundation that prevents a drooping, wobbly flower.
With your petals shaped and base ready, it's assembly time. Building from the outside in with the largest petals first prevents gaps and creates a beautiful, layered effect.

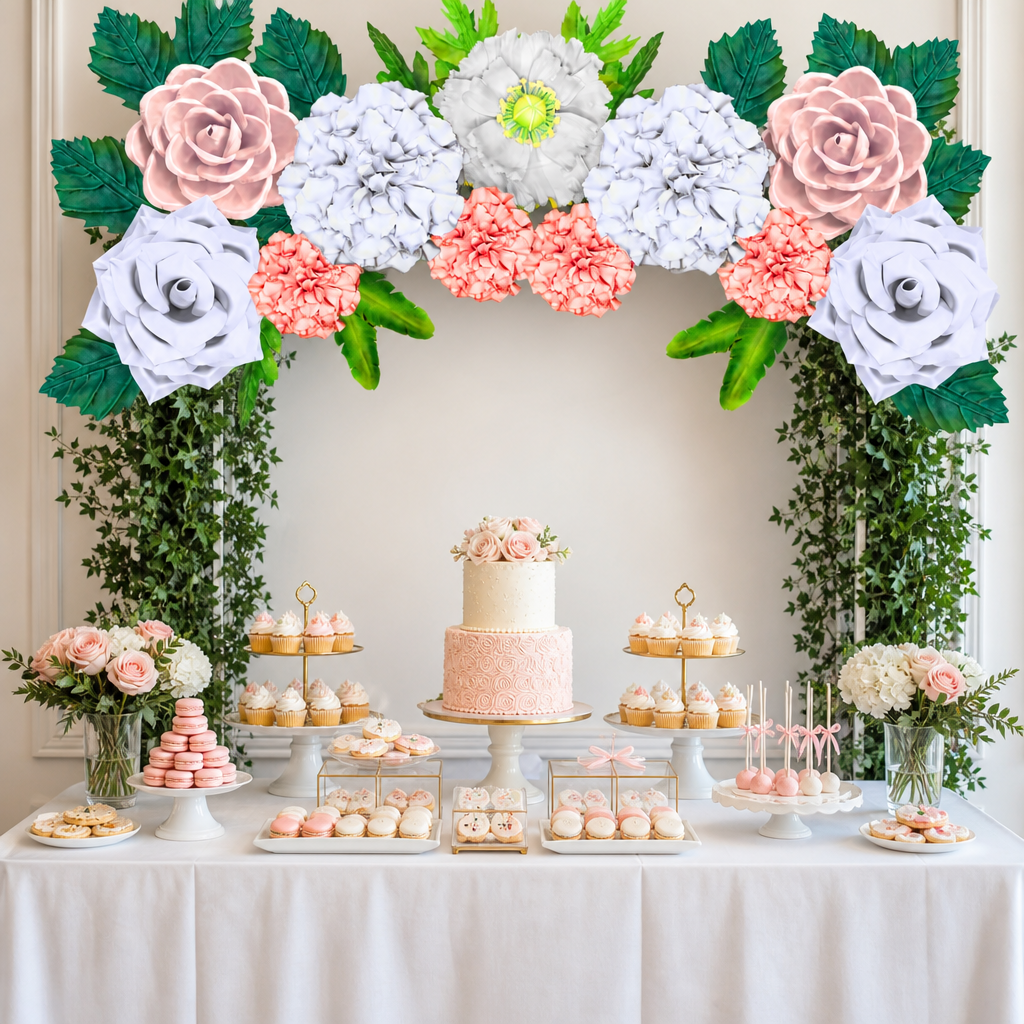
You’ve built a beautiful flower. Now it's time for the final touches that elevate your giant paper flower from a nice craft project to a stunning piece of art. This is your chance to inject your style and create something unforgettable.
A real flower is never one solid color. Adding subtle color gradients is a simple technique that gives your flower a high-impact, realistic look.
Here are two effective methods:
Adding color introduces detail that makes your flower more complex and believable.
Embellishments are your secret weapon for personalizing your flower and tying it into a specific theme.
Consider these use cases for the flower's center:
Design Secret: When displaying your flowers, group them in odd numbers. An arrangement of three or five flowers is more natural and visually pleasing than groups of two or four.
A giant paper flower DIY approach is perfect for creating branded decor. I was once hired to create a floral wall for a trade show booth, and the flowers had to exactly match the client’s Pantone color.
Here’s the step-by-step process we used for a perfect outcome:
The outcome was an incredible, fully branded photo backdrop unique to their booth, transforming a DIY project into a powerful, professional tool.
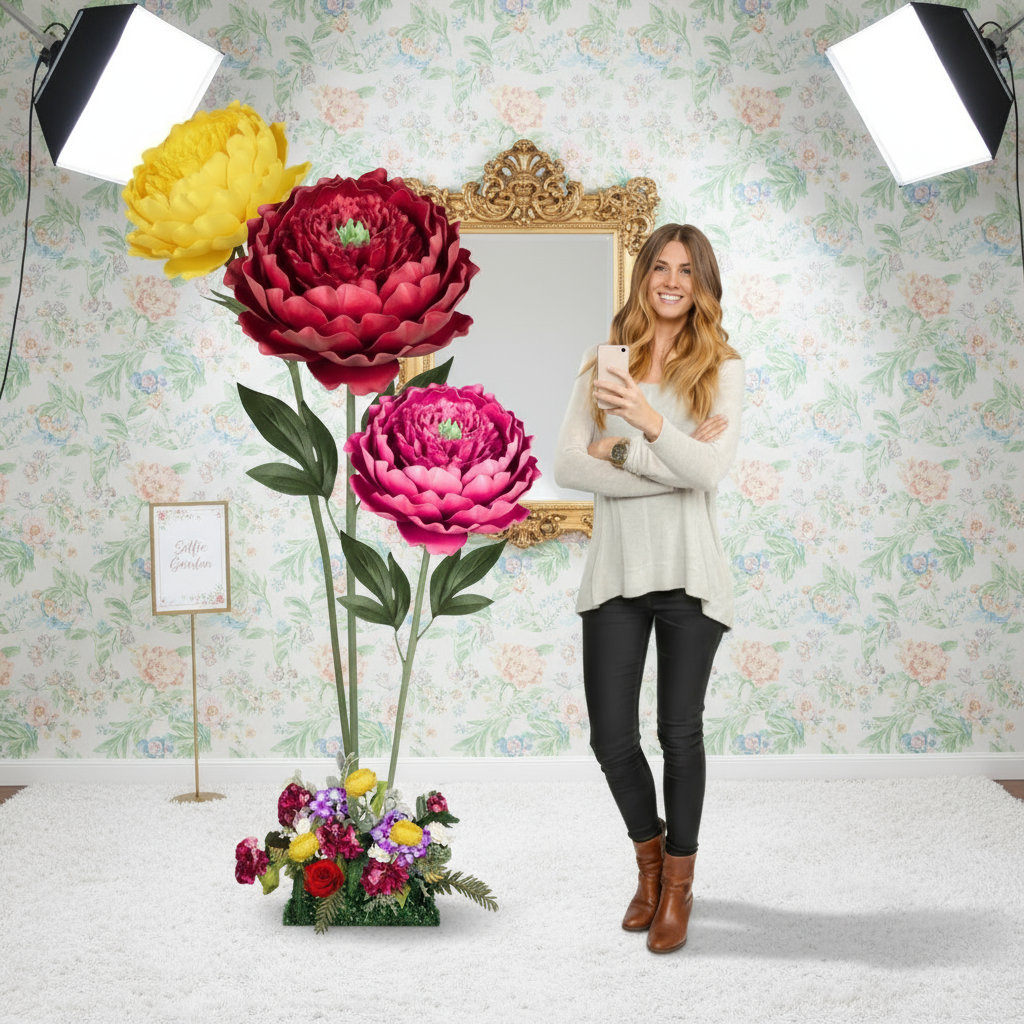
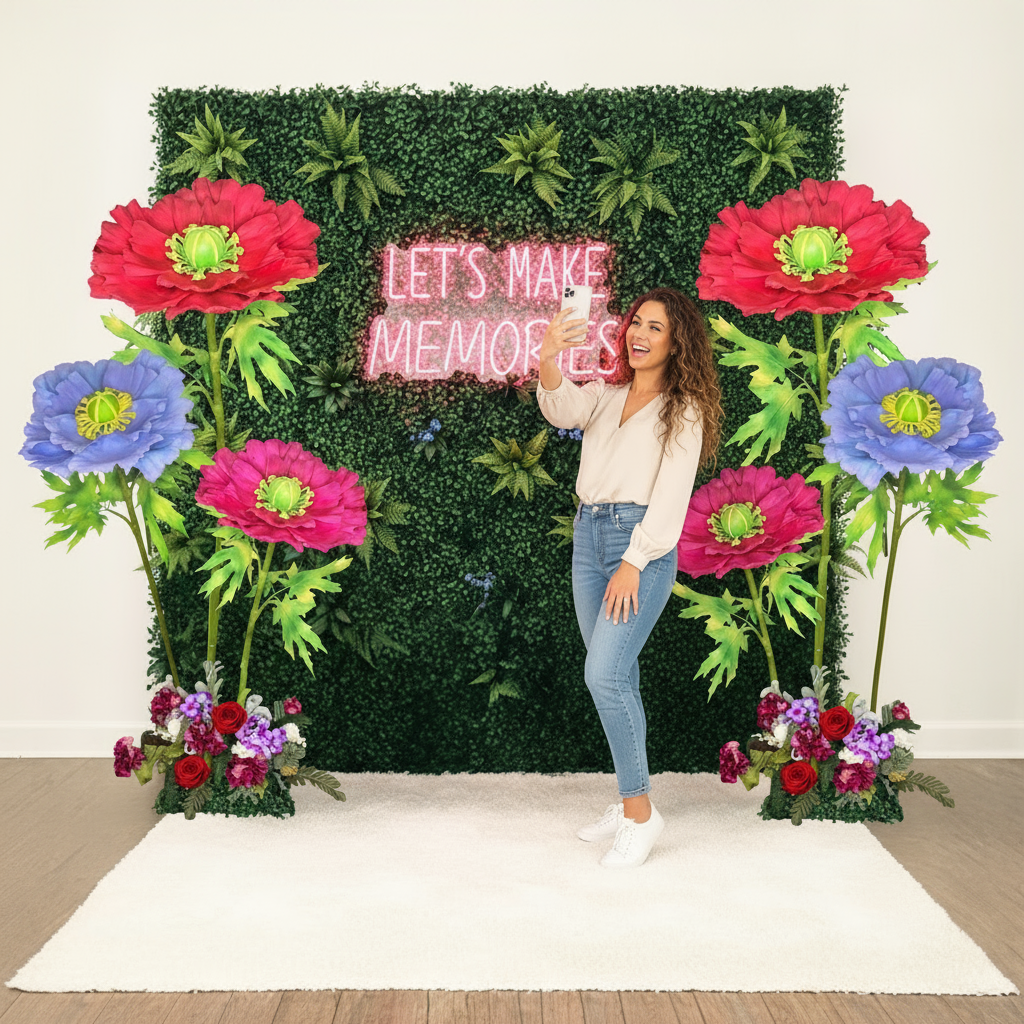
After creating a stunning bloom, the final step is displaying it for maximum impact. This section provides practical solutions for secure and impressive installation. We'll walk through the best methods for wall mounting, creating freestanding arrangements, and prepping flowers for handheld use.
A feature wall of giant flowers is a popular and stunning decor choice. The key is using a strong attachment method that won’t damage your walls.
Here are my go-to solutions for damage-free wall mounting:
Quick Tip: Lay your flowers on the floor first to plan your arrangement. This allows you to perfect the composition without repeatedly sticking and unsticking them from the wall.
Freestanding flowers are perfect for lining a wedding aisle or flanking a stage. The challenge is creating a sturdy stem that can support a heavy flower head.
Here’s a step-by-step process for a reliable stem:
For more ideas on this type of installation, explore our guide to paper flower backdrops.
Giant flowers also make unforgettable photo props and unique bouquets. For handheld use, comfort and proper angling are key.
Use Case Spotlight: A Modern Bridal Bouquet A bride holding a single, magnificent giant paper rose creates a dramatic, modern, and memorable look.
How to Prepare a Handheld Flower:
Here are answers to some of the most common questions about making giant flowers, so you can feel confident and ready to create.
It varies. For a complete beginner, I suggest setting aside 2 to 3 hours for your first flower to learn the process without pressure. An experienced crafter can often assemble one in 60 to 90 minutes. Our pre-cut DIY kits let you skip the cutting and significantly speed up the process.
For any outdoor use, EVA foam is the best choice. It is waterproof, durable, and holds its shape in various weather conditions, unlike paper.
Ideal use cases for EVA foam flowers include:
When your reputation is on the line and you need your decorations to last, always go with foam. The peace of mind is worth everything.
Absolutely. A polished, "wow" factor comes from technique and attention to detail, not an innate artistic gift.
The key steps for a professional outcome are:
- Start with quality materials that hold their shape.
- Take time to shape every single petal for life and movement.
- Follow a proven assembly method, building your flower layer by layer.
This guide teaches you those core principles, enabling you to create flowers that look like they came from a high-end event studio.
How Should I Store My Giant Flowers After an Event?
Proper storage is key to reusing your flowers. Protect them from dust, moisture, and being crushed. I recommend using large, sturdy cardboard boxes with soft tissue paper between each flower. If they are on stems, detach the heads for easier packing. Store them in a cool, dry spot away from direct sunlight.
For more creative ideas, find inspiration in our guide to making amazing large paper flower decorations.
Ready to bring your own unforgettable floral vision to life? Amazing Giant Flowers has everything you need, from complete DIY kits with step-by-step video tutorials to fully custom-designed installations. Come explore our shop and let's get you started at https://www.amazinggiantflowers.com.
Ready to Create Something Amazing?
Browse our collection of giant flower kits and start your next project.
Shop All Flowers