A Crafter's Guide to Foam Sheet High Density
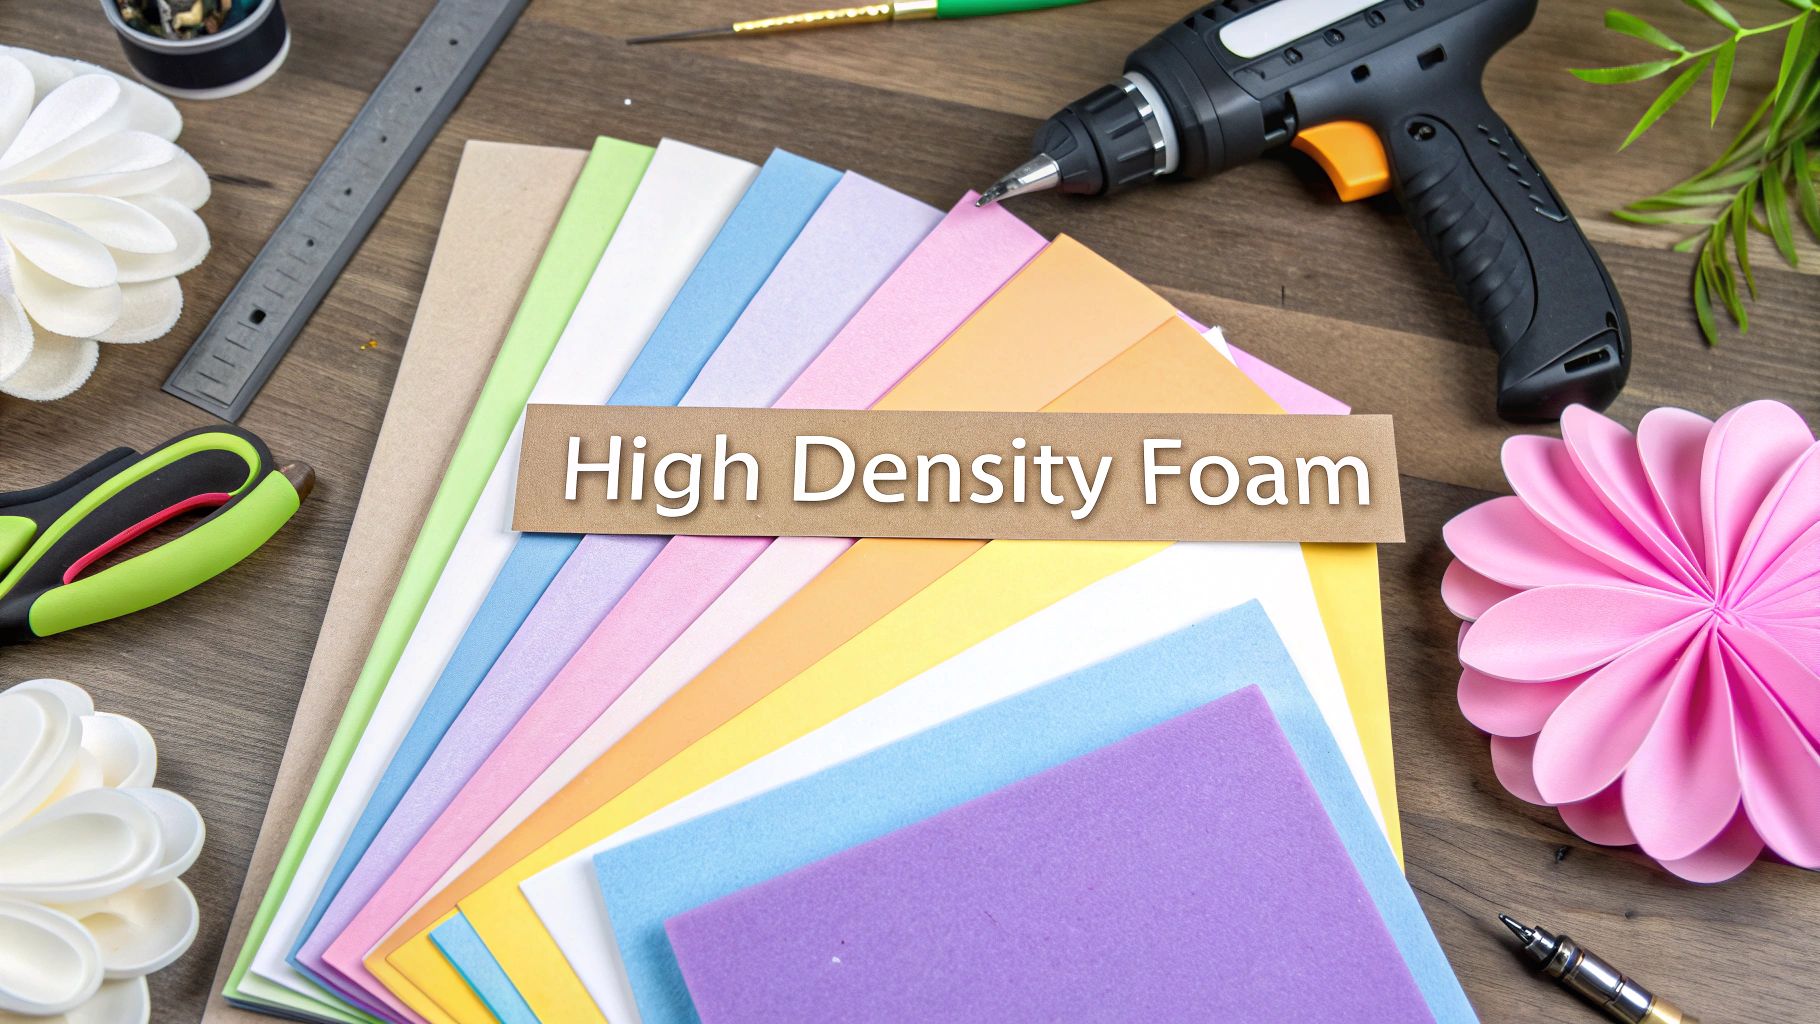
When you're building something big and beautiful, like a giant flower that needs to stand tall and proud, the material you choose is everything. A high-density foam sheet is the artist's secret weapon for exactly this kind of project. It’s a firm, durable, and supportive material—most often made from Ethylene-Vinyl Acetate (EVA)—that holds its shape beautifully under pressure.
Think of it as the strong backbone for your creations, the key to building large, self-supporting structures that won't wilt, droop, or disappoint. It's this strength and resilience that sets it apart from the flimsy craft foams you might find in a hobby store.
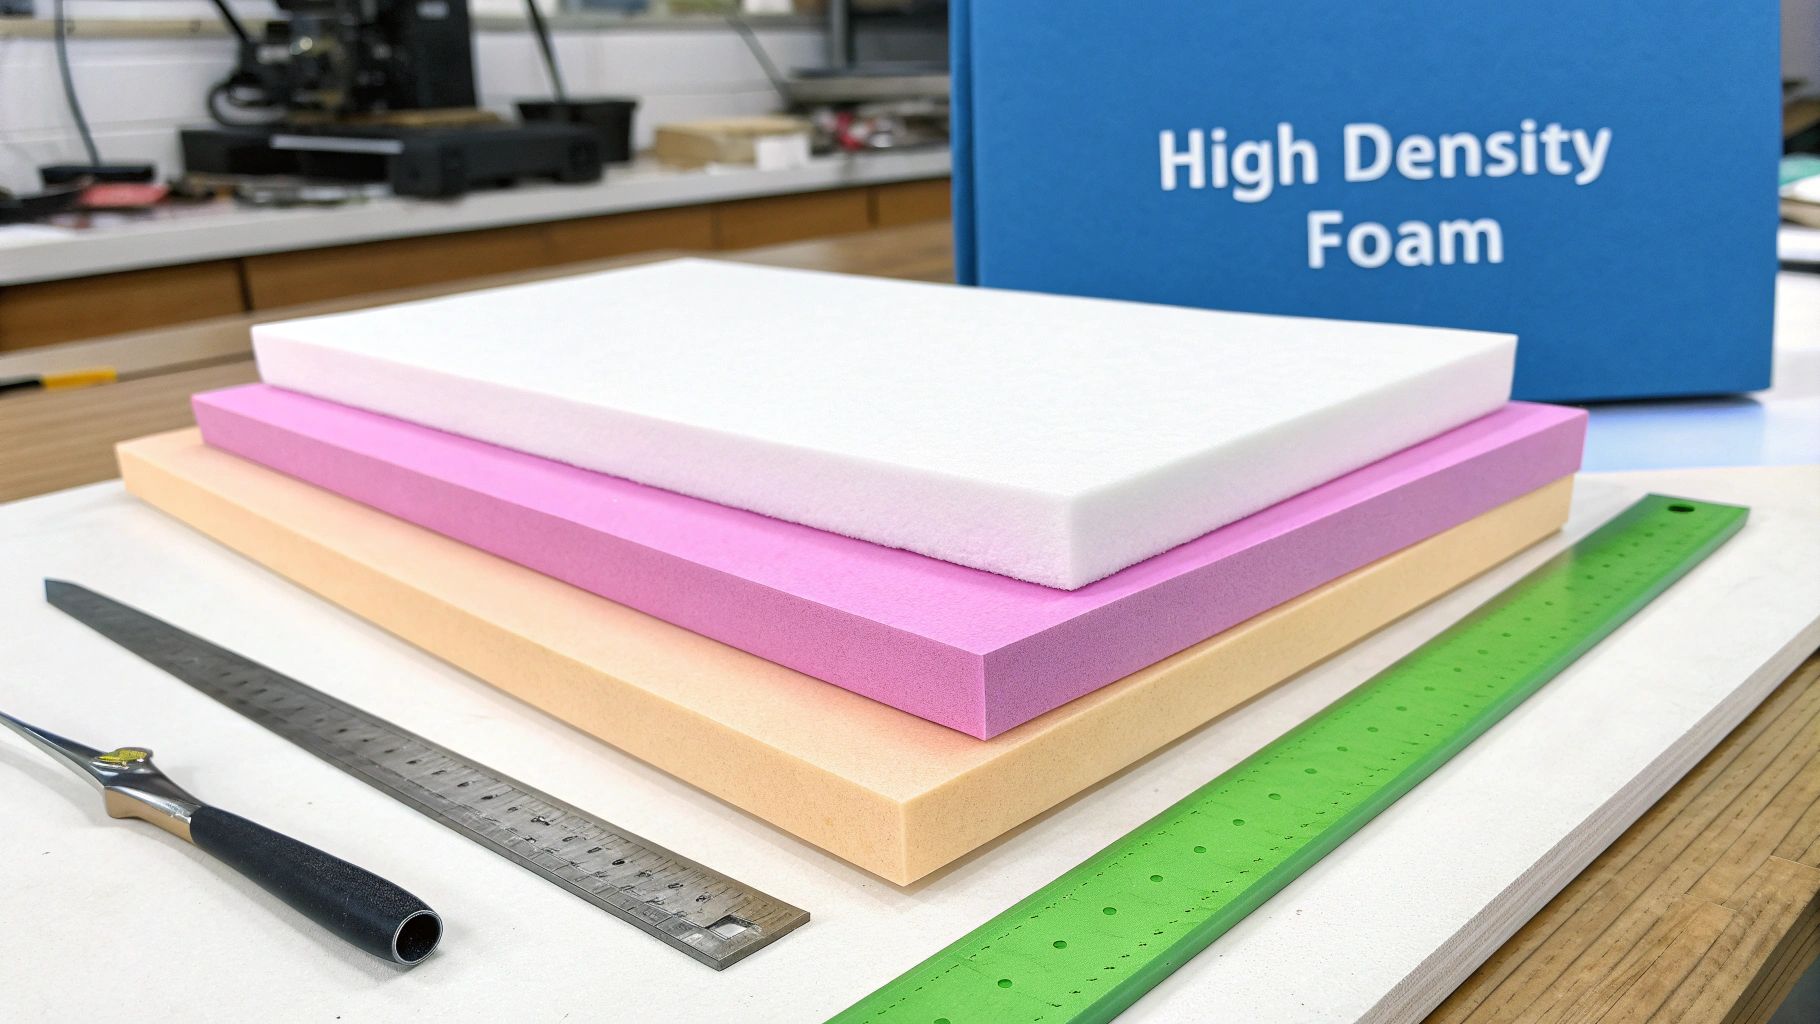
Imagine the difference between a fluffy kitchen sponge and a dense yoga block. They're both technically foam, but their feel and function are worlds apart. A high-density foam sheet is your yoga block—it's packed with much more material in the same amount of space. This gives it exceptional strength, rigidity, and the ability to bounce back.
Unlike its low-density cousins that squish down easily and lose their form, high-density foam is engineered to resist compression. This makes it the go-to choice for ambitious projects that need structural integrity without clunky or heavy internal supports. For event designers and dedicated DIYers, this means you can create breathtaking decorations—from towering floral backdrops to intricate props—that are both visually stunning and surprisingly lightweight.
The material of choice for these applications is almost always Ethylene-Vinyl Acetate (EVA) foam. This thermoplastic polymer is celebrated for its fantastic combination of durability and flexibility. You can dive deeper into what makes it so special in our complete guide on Ethylene-Vinyl Acetate foam sheets.
Understanding Density and Its Impact
So, what do all the numbers and specs actually mean for your project? Foam density is measured in kilograms per cubic meter (kg/m³) or pounds per cubic foot (lbs/ft³). It’s simple: the higher the number, the more material is packed into the foam, resulting in a firmer, stronger sheet.
This difference in structure is precisely why high-density foam is the trusted material for demanding projects. In fact, these high-performance polyethylene foams are a huge deal commercially, making up a massive 47.1% of the global market. With densities ranging from a feather-light 1.6 kg/m³ to a super-robust 960 kg/m³, the denser varieties are perfect for event backdrops and retail displays that need to withstand handling and transport.
To help you visualize these differences, here's a quick comparison of the most common foam types you'll encounter.
This quick-reference table breaks down the key differences between low, medium, and high-density foam, helping you match the right material to your project's needs.
As you can see, for any project where durability and shape retention are non-negotiable, high-density foam is the clear winner.
The benefits of working with a high-density foam sheet go way beyond just being firm. This material brings a whole set of properties to the table that make crafting easier and the results more professional.
A critical feature is its closed-cell structure. This means the foam is made of countless tiny, sealed pockets of gas that don't let air or water seep through.
Why a Closed-Cell Structure Matters: A closed-cell structure makes the foam water-resistant, easy to clean, and gives it a perfectly smooth surface for painting and finishing. It’s the secret ingredient for achieving that polished, professional look on your final pieces.
This structure is what gives the foam its superstar qualities:
If you're an ambitious creator, you know the frustration of seeing your vision sag, bend, or fall apart because of weak materials. A high-density foam sheet is the solution, providing a strong, reliable skeleton for your ideas and elevating your work from good to absolutely stunning. It’s the secret ingredient for crafting those show-stopping installations that capture everyone's attention at a wedding, brand activation, or special event.
For event professionals and dedicated DIYers, switching to high-density foam provides immediate, game-changing benefits.
Let's make this real with a common scenario for an event designer.
The Goal: Build a six-foot-tall rose for a wedding arch.
The Outcome with High-Density Foam:
The specific type of foam often used to achieve this is EVA, which is at the heart of these benefits. To really understand how different foams stack up, you can dive deeper into the materials and their uses in our in-depth look at EVA foam. Knowing the details will help you pick the perfect material for creating those durable, camera-ready pieces that become the highlight of any memorable occasion.
Stepping into the world of high-density foam can feel a bit complex, but this simple roadmap will help you choose the perfect foam sheet high density for your project with absolute confidence. Getting this choice right from the start is a game-changer, saving you time, money, and frustration.
The thickness of your foam sheet directly controls the structure, flexibility, and overall look of your finished piece. Think of it like a painter choosing the right brush—a thin foam gives you delicate control for fine details, while a thick one provides a strong, reliable foundation.
Here’s a practical guide to matching foam thickness to your project needs:
Beyond thickness, density tells you how tough and resilient the foam is. It's measured in kilograms per cubic meter (kg/m³), but the concept is simple: a higher number means a firmer, stronger foam.
Key Takeaway: For giant flowers and event props that need to survive transport, setup, and display, always aim for a density rating of 60 kg/m³ or higher. This ensures your creations won’t sag, dent, or lose their beautiful shape over time, giving you that professional-grade durability you need for pieces you plan to use again and again.
This focus on strength is exactly why high-density foams are becoming so important in major industries. The global PVC Foam Sheet Market, which was valued at USD 86.82 billion, is expected to climb to USD 126.72 billion by 2032. Within that huge market, the high-density grades are prized for their muscle, making them critical for heavy-duty jobs where weaker foams would simply fall apart. You can learn more about these market dynamics in the full research on the PVC foam sheet market.
The final piece of the puzzle is the foam's surface and color. The finish affects the final look and feel, and picking the right color from the get-go can save you a ton of time with the paintbrush.
For a great selection of colors and sizes, you can explore our collection of large craft EVA foam sheets. By keeping these three factors in mind—thickness, density, and finish—you'll be able to choose the perfect high-density foam for any project you can dream up.
You’ve picked out the perfect high-density foam sheet. Now for the fun part—turning it into a masterpiece. This creative roadmap will take the guesswork out of the process, walking you through four main steps to achieve a professional result with tools you probably already have.
Every great foam project starts with a clean, precise cut. Matching the right tool to the task ensures your pieces fit together perfectly for a seamless look.
If you want to go deeper on this, we've put together a more detailed guide on the best way to cut foam with even more pro tips.
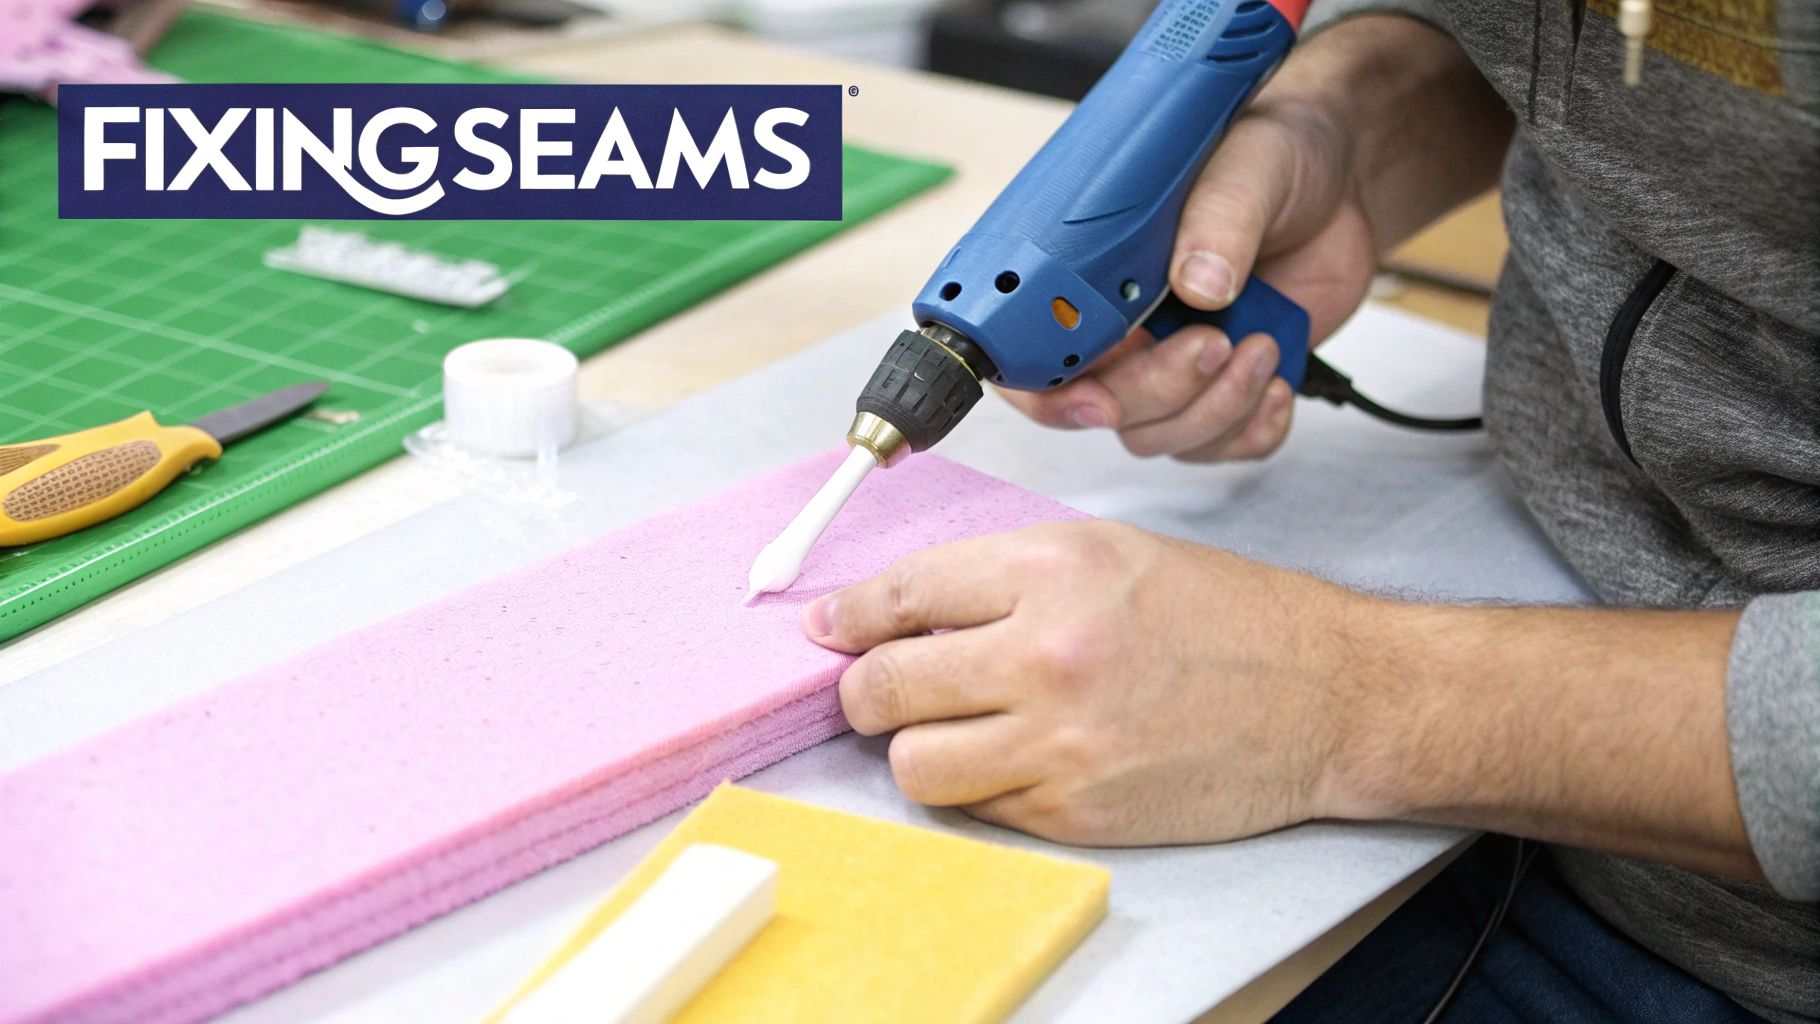
This is where the magic happens. A simple heat gun transforms a flat piece of foam into a dynamic, 3D shape, giving your creations lifelike, organic curves.
Pro Tip: When it comes to heat, less is more. Overheating the foam can make it shrink, bubble, or even melt. You're just looking for that sweet spot where it becomes flexible.
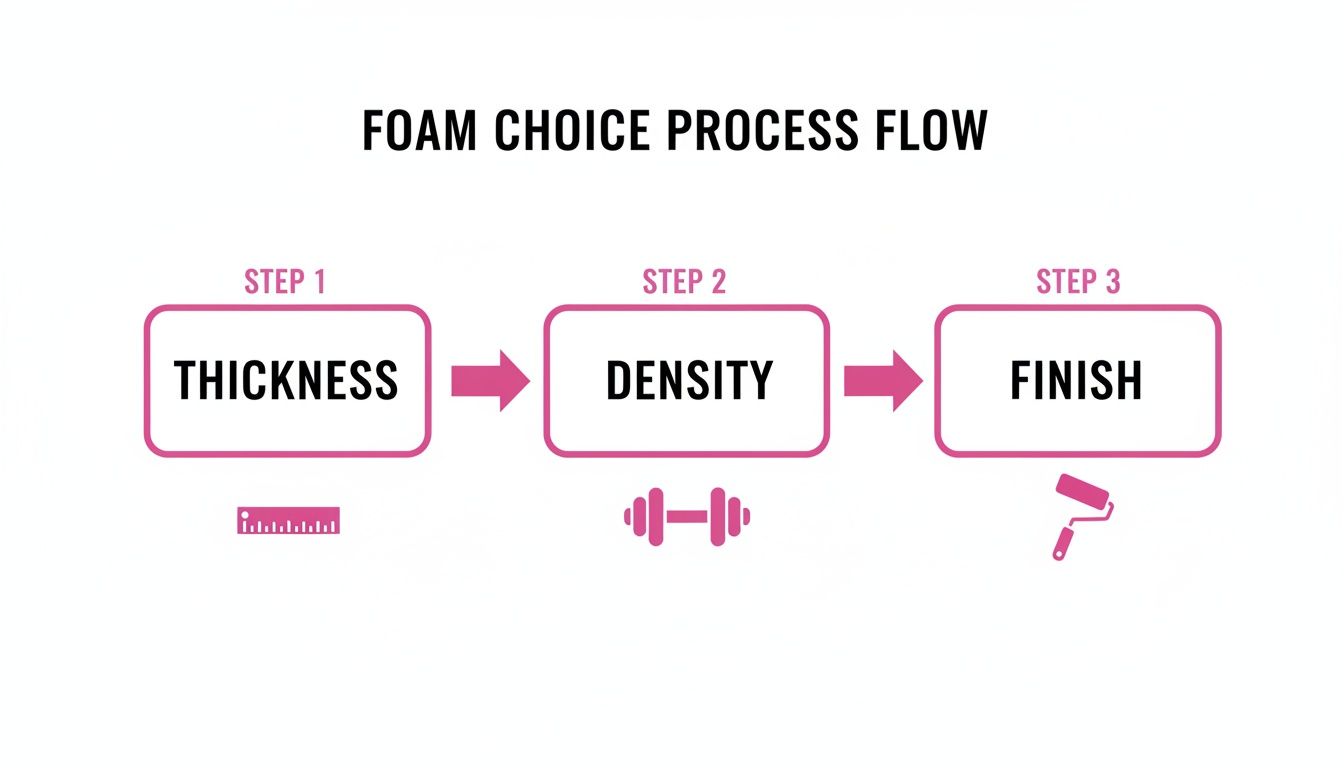 As this flowchart shows, making the right call on thickness, density, and finish early on is what sets you up for success down the line. A successful project really just comes down to making these thoughtful choices at each stage.
To assemble your shaped pieces, you need an adhesive that creates a powerful, permanent bond without damaging the foam.
The final step is all about color and protection. A little prep work will make the difference between a good finish and a flawless one.
A foam sheet high density is a versatile material that can do so much more than make giant flowers. It's a secret weapon for anyone who needs to build big, impressive, and three-dimensional creations without the weight or complexity of traditional materials.
It’s no surprise that the market for high-performance foams is booming. Valued at USD 67.2 billion, the industry is on track to hit a massive USD 144.75 billion by 2033. This surge is all about the growing need for materials that are strong yet light—perfect for turning a plain venue or retail space into something truly memorable. You can see more details about the expanding foam market on SkyQuestt.com.
Here are some inspiring use cases:
- Custom Event Signage and Logos: Create crisp, 3D company logos that look like wood or metal but are light enough to mount anywhere. The foam is easy to cut into intricate letters and shapes for perfect branding.
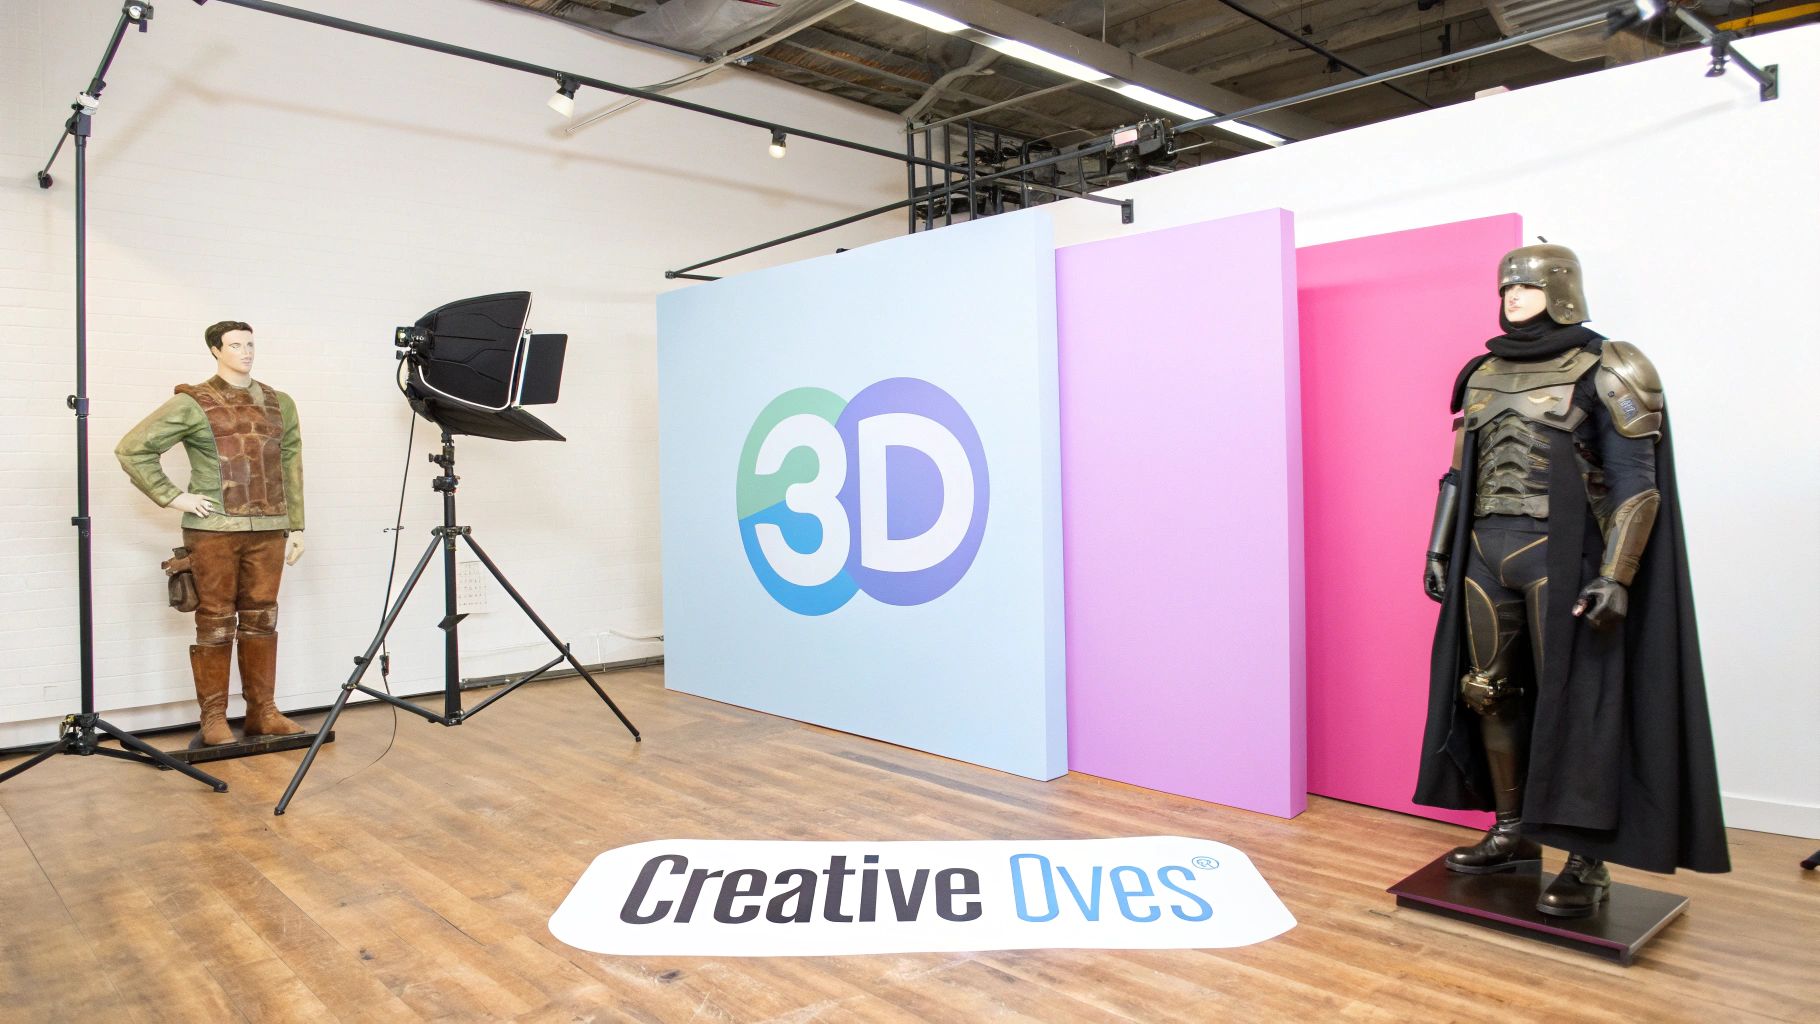
- Theatrical Props and Set Design: Build large-scale props and set pieces that are durable enough for a long run but light enough for actors and stagehands to handle safely and easily.
- Retail Window Displays: Design bold, custom installations that are self-supporting and won’t sag under hot display lights. These eye-catching scenes draw customers in and are easy to swap out seasonally.
- Cosplay Armor and Accessories: Craft detailed, comfortable armor that holds its shape perfectly and is tough enough to handle a crowded convention floor.
This material’s ability to be easily shaped and finished makes it a favorite among creators. It removes the limitations of heavier materials, letting imagination take center stage.
Even with a forgiving material like a foam sheet high density, small issues can arise. Knowing how to fix them quickly is the key to achieving a professional finish. This is your go-to guide for those "oops" moments.
Here are the steps to solve the most frequent issues and achieve a flawless outcome.
A great rule of thumb is to heat the foam until it's flexible, not until it's melting. The goal is a perfect, permanent curve, and that comes from consistent heat and a patient cool-down.
You've put in the work, so let's make sure your creations and leftover materials last. Proper storage is simple and protects your investment.
As you gear up for your next big project, you're bound to have some practical questions. Let's walk through some of the most common things creators ask, so you can dive in with total confidence.
Yes, you absolutely can! This is one of the standout features of high-density EVA foam. Because it's a closed-cell foam, it naturally repels water. It won't turn into a soggy mess or fall apart if it gets a little damp.
To make sure your flowers look amazing and last through an outdoor event, just take a couple of extra steps:
With just a little prep, your foam creations will be the star of any garden wedding, festival, or outdoor party.
Shipping something big and beautiful can feel like a challenge, but the fact that high-density foam is so light yet durable is a huge advantage. The main goals are to stop it from getting squished or scuffed.
Yes, working with EVA foam indoors is generally very safe. At room temperature, it’s a stable and inert plastic, so you don't have to worry about harmful fumes.
The one time you need to be mindful is when applying heat. If you're using a heat gun for shaping or a hot knife for cutting, just crack a window or make sure you're in a well-ventilated space. This easily disperses any vapors and keeps your crafting experience perfectly safe.
Keeping your foam creations looking fresh is incredibly easy. For light dusting, a soft cloth or a feather duster is all you need.
If it gets a little grimy, just wipe it down with a damp cloth and a touch of mild soap. Let it air dry, and you're good to go. Just steer clear of harsh chemical cleaners, as they could strip the paint or damage the sealant you worked so hard on.
Ready to bring your own spectacular visions to life? At Amazing Giant Flowers, we provide the premium high-density foam sheets, DIY kits, and expert guidance you need to create unforgettable decor.
Explore our collection and start building today at https://www.amazinggiantflowers.com.
Ready to Create Something Amazing?
Browse our collection of giant flower kits and start your next project.
Shop All Flowers