A Crafter's Guide to Mod Podge Clear Acrylic Sealer

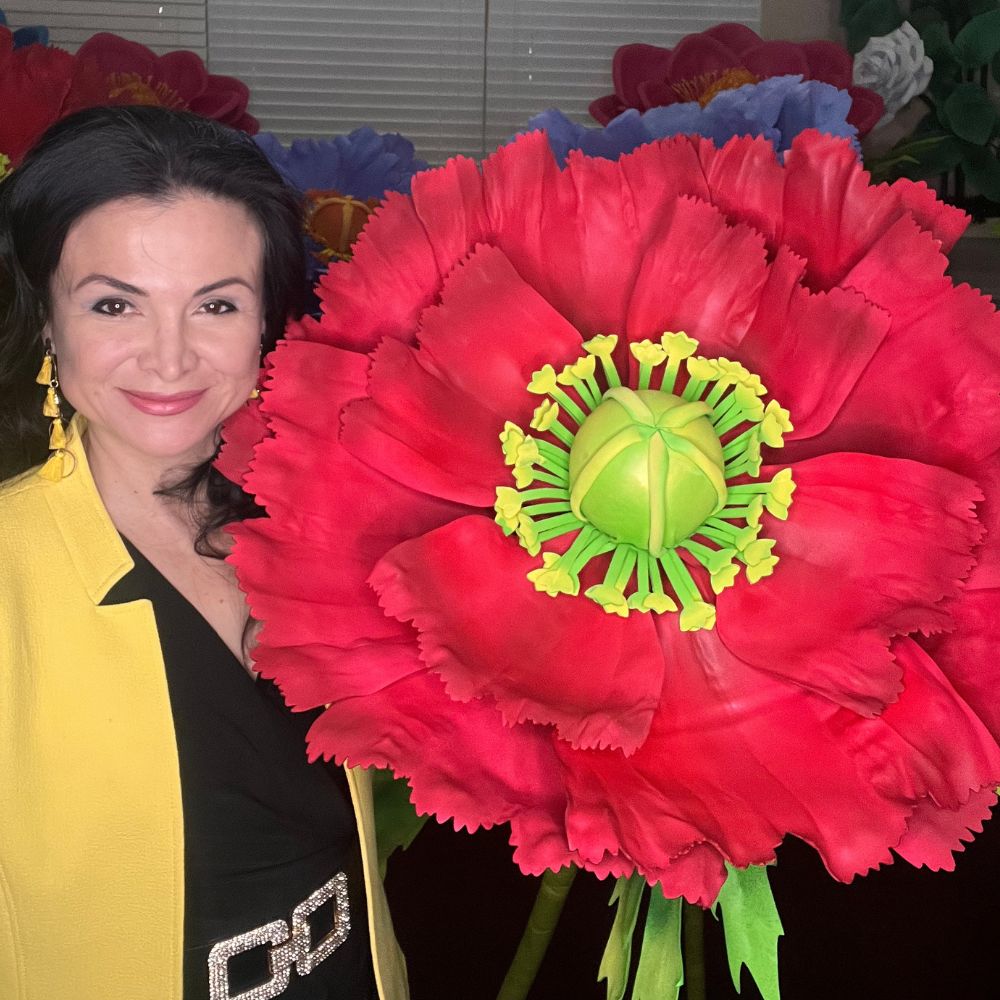
Picture this: you’ve just finished a set of stunning, oversized paper flowers for a big event. They look incredible, but you need to ensure they last. How do you protect them from humidity, scuffs, and fading? The secret to turning those beautiful, delicate creations into durable, professional-grade decor is a final, protective seal. This is where Mod Podge clear acrylic sealer becomes your most valuable tool.

After pouring countless hours into crafting your giant flowers, you want them to be a durable asset, not a fragile liability. A quality acrylic sealer is a must-have for achieving professional, reliable results and giving you confidence in your work.
Think of it as a clear coat of armor for your artwork. It provides numerous benefits that ensure your creations look amazing from transport to teardown.
Applying a good sealant is what transforms your flowers into a dependable and reusable investment. It's what gives you peace of mind.
Here are the primary benefits of using a Mod Podge clear acrylic sealer:
- Weather Resistance: It provides a critical barrier against humidity and light moisture. This is a lifesaver for outdoor events, preventing paper from drooping and keeping foam flowers in their carefully sculpted shape.
- UV Protection: The built-in UV inhibitors act like sunscreen for your art, protecting vibrant colors from fading under bright event lights or direct sun.
- Enhanced Durability: The sealer adds a tough, rigid layer that makes your flowers much more resilient. This helps them resist tearing, scuffing, and denting, which is crucial during transport and setup.
- Professional Finish: It provides a consistent, non-tacky finish that looks polished and intentional, elevating your work from a craft project to a high-end installation.
The biggest benefit is peace of mind. When you know your installation can handle the chaos of an event—from the van ride to the final teardown—you can focus on the creative side of things.
This final step truly elevates your project, whether you’re working with delicate paper or durable foam. If you're just getting started with foam, sealing is the perfect finishing touch after learning how to create beautiful foam flowers with Blossom EVA Foam.
The final coat you apply does more than protect—it sets the mood. Choosing a Mod Podge clear acrylic sealer finish is a key creative decision. It’s the difference between a flower that gleams under spotlights and one that offers a soft, romantic glow. This choice defines the personality of your creation. Let’s break down the options.
When you want your flowers to command attention, the Gloss finish is your best friend. It creates a slick, reflective surface that makes colors look deeper and more saturated.
Here’s where a Gloss sealer really shines:
This is the finish that makes people stop in their tracks. It delivers that "wow" factor.
A Gloss finish elevates a project from "handmade" to "professionally crafted." It’s especially stunning on EVA foam, giving it a rich, almost lacquered appearance.
If you want your flowers to feel more organic and understated, the Matte finish is the way to go. It provides a non-reflective, flat look that softens colors and eliminates glare—a game-changer for photography.
A Matte finish is ideal for these scenarios:
The demand for better protective coatings is driving innovation. Modern sealers can boost a flower's durability against moisture by an incredible 60%. For event installations, sealed finishes for selfie stations can even lead to a 30% increase in social shares. The market is clearly responding, as you can read in the report on the booming sealants market on Mordor Intelligence.
Before choosing, consider your venue's lighting, the event's theme, and how durable the flower needs to be. And if you're starting with a specific color scheme, our guide on painting foam board will help you get that perfect base coat.
Applying a Mod Podge clear acrylic sealer is about following a solid process. With a few simple steps, you can achieve a streak-free, perfect finish every time.
A flawless finish depends entirely on a clean surface. Any speck of dust or debris will be permanently trapped under the sealer.
Your tool choice impacts the final look. It comes down to your desired finish and the flower's complexity.
Patience is key. Always test your technique on a scrap piece of the same material first.
This attention to detail is what makes creations last. The acrylic polymers market is advancing quickly, leading to better products. For instance, some newer clear sealers reduce UV-fading by up to 70%. You can read more about trends shaping the acrylic polymers market on Fortune Business Insights.
If your project involves detailed painting, check our guide on painting on foam core for tips on prepping your surface.
Even with careful application, you might run into a few hiccups when using Mod Podge clear acrylic sealer. Don’t worry! Most common issues are easy to fix.
A flawless seal comes down to three phases: Prep, Apply, and Cure. Rushing any of these is where things can go wrong.
Here's how to solve the most frequent problems.
A tacky finish is usually caused by high humidity or applying coats too thickly.
This happens when using a stiff brush or when the sealer starts to dry too quickly.
A milky haze is a sign of trapped moisture, often from a damp room or sealing over paint that wasn't fully dry.
Knowing how to troubleshoot gives you the confidence to take on bigger, more complex flowers. For your next creation, find inspiration in our guide on making large paper flowers.
To make your creations last outdoors, you need to build a weather-resistant shell. The secret is layering. Several thin coats of Mod Podge clear acrylic sealer create a much tougher, more flexible barrier against moisture and sun.
Steps for Outdoor-Ready Flowers
To head off problems, build reinforcement right into your sealing process. Focus on the weak points where moisture loves to creep in.
- Step 1: Reinforce Edges and Seams
- Seal the Edges: The cut edges of foam petals are porous. Apply a dedicated coat of sealer directly to these edges with a small brush and let it dry.
- Get Into the Seams: For complex flowers like roses, get the sealer deep into crevices where water can pool.
- Double-Up at the Base: The connection point where the flower meets the stem is a high-stress area. An extra coat of sealer here provides critical strength.
- Step 2: Apply a Final Top Coat
- Mod Podge clear acrylic sealer is a fantastic foundational seal. For projects facing direct sun and rain, you need one more layer of armor.
- Think of the Mod Podge as the primer and your final layer as the weatherproof shield.
Use Case: The Festival Sunflower I created giant sunflowers for a three-day outdoor festival. I knew they’d face sun and rain.
- I applied two thin coats of Matte Mod Podge sealer to protect the color and reduce glare.
- After it cured, I went over everything with an exterior-grade spar urethane. The result? The flowers looked just as brilliant on day three as they did on day one.
This two-part system is the key to professional, long-lasting results, similar to how homeowners protect weatherproof outdoor wall art. Proper sealants can reduce weather-related damage by as much as 65%.
Ready to put these techniques into practice? Our DIY Kit for a Giant English Rose is the perfect project to perfect your outdoor sealing skills.
Answering Your Top Questions About Mod Podge Sealer
Using Mod Podge clear acrylic sealer on giant flowers can bring up a few questions. Here are answers to the most common ones to help you seal your projects with confidence.
Is Mod Podge Clear Acrylic Sealer Fully Waterproof?
No, it is water-resistant, not waterproof. It can handle humidity and light moisture but not heavy rain. For true weatherproofing, use a two-step approach.
- Step 1: The Base Seal
- Apply two to three thin coats of your chosen Mod Podge sealer (Gloss or Matte). This protects your paint from UV fading and minor moisture.
- Step 2: The Waterproof Top Coat
- Let the Mod Podge cure completely.
- Go over it with an exterior-grade marine varnish or spar urethane. This creates a heavy-duty, waterproof barrier.
Can I Apply the Sealer Over Paint?
Yes, that's one of its main purposes. It creates a tough top coat that guards paint against scuffs and gives the piece a uniform finish. The key is to let your paint cure completely (at least 24 hours) before sealing.
Always test on a small, hidden spot first to ensure your paint and the sealer are compatible.
How Should I Clean a Sealed Giant Flower?
Sealed flowers are easy to clean, a huge plus for event and retail displays.
- For light dust: Use a soft feather duster or a can of compressed air.
- For smudges: Gently wipe the area with a soft, damp microfiber cloth.
- What to avoid: Never use abrasive sponges, paper towels, or harsh chemical cleaners, as they can scratch or dull the finish.
What Is the Difference Between This Sealer and Regular Mod Podge?
Though they share a brand name, these are different products for different jobs.
- Regular Mod Podge (in a jar): This is an all-in-one glue, sealer, and finish. It’s a decoupage medium designed to adhere paper or fabric to a surface.
- Mod Podge Clear Acrylic Sealers (in spray cans): These are pure top coats. They are formulated to provide a harder, more durable, and non-tacky final finish, which is ideal for professional-grade projects like giant flowers.
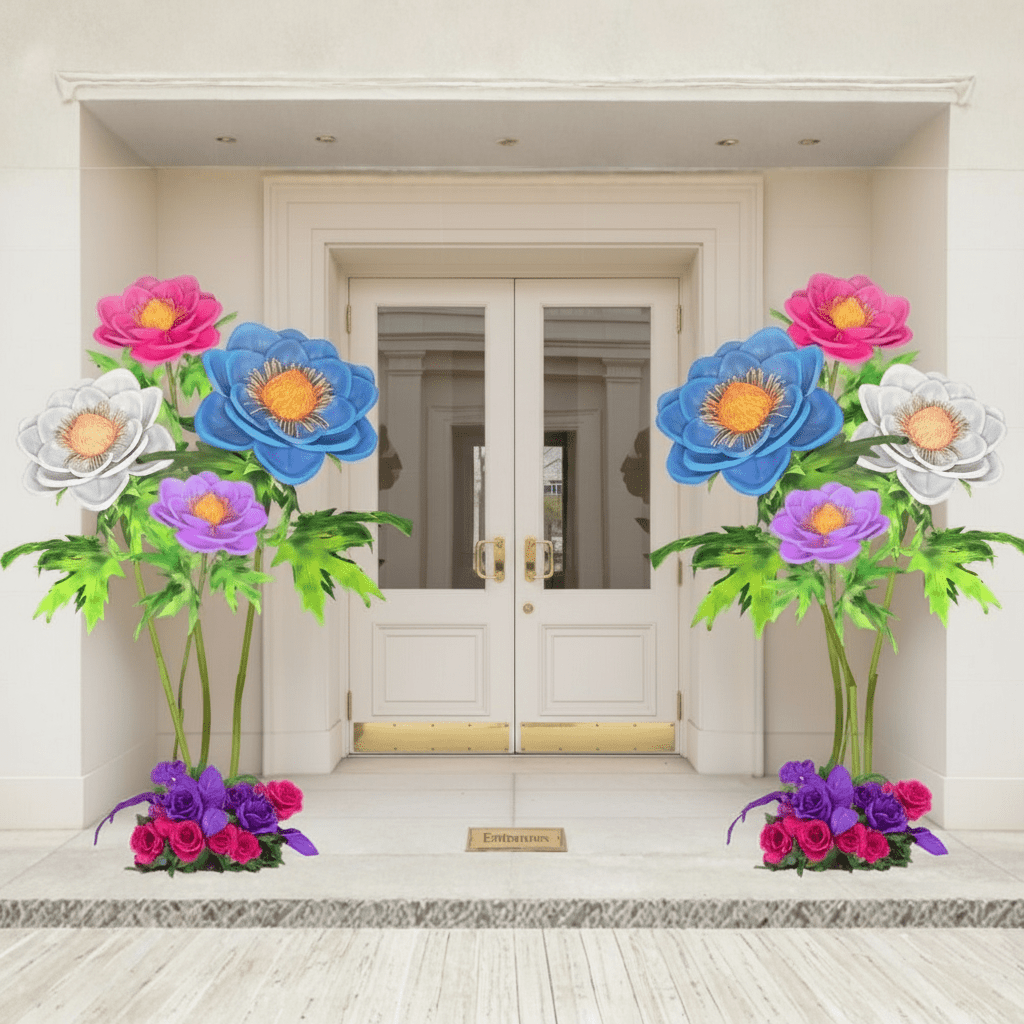
Ready to build your own show-stopping floral installations? Amazing Giant Flowers offers everything you need, from DIY kits to custom-built masterpieces. Explore our collection of giant flowers and start making unforgettable, camera-ready moments.


Ready to Create Something Amazing?
Browse our collection of giant flower kits and start your next project.
Shop All Flowers