Your Guide to Fun Cricut Projects for Beginners

You just unboxed your shiny new Cricut. It's an exciting moment! But opening Design Space to a blank canvas can feel overwhelming. The best way to push past that is to score a quick, satisfying win.
Starting with a simple vinyl decal is a great first step. You can make one in under 30 minutes, and the confidence boost you get is the perfect fuel to keep you creating.

The journey from opening the box to holding your first finished project should be fun. This guide will walk you through making something you can actually use, right away.
Use Case: In the time it takes to watch an episode of your favorite show, you could have a custom-decorated water bottle, a personalized laptop cover, or a cute decal for your notebook. That’s the magic of starting simple.
Build Your Creative Momentum
Your first project should build momentum with a success you can see and touch. It’s about making something that makes you say, "I made that!" These early projects are perfect for learning the ropes smoothly.
Here are the key benefits of starting with a simple vinyl decal:
For newcomers, a simple vinyl decal is a game-changer. These projects usually take just 15-30 minutes and can cost as little as $2–$5 in materials. It's the perfect way to get your feet wet.
The most important first step is choosing a project that excites you. Personalizing an object you use daily, like a coffee mug, makes the learning process more meaningful and fun.
To help you decide what to tackle first, here's a quick look at some beginner-friendly ideas.
This listicle gives you a snapshot of a few great starter projects to help you pick one that fits your time, budget, and comfort level.
Choosing any of these will give you a solid foundation and a big dose of confidence for whatever you decide to make next.
Once you’ve mastered a basic vinyl decal, you’ve unlocked the door to so many other amazing crafts. The skills you pick up—navigating the software, handling materials, and applying your design—are the same ones you'll use for almost everything else.
Building this foundation makes it easier to branch out. Before you know it, you'll feel ready to take on paper crafts, layered cardstock designs, and even materials like EVA foam.
Use Case: For those dreaming of making bigger things, like gorgeous DIY flowers, these fundamental skills are your first step. When you're ready to level up your craft, you can find all the essential flower-making supplies you'll need. Starting small is the secret to going big.

Ready to make something you can stick on your stuff? A custom vinyl decal is the perfect first project. It teaches you two skills you’ll use again and again: weeding vinyl and applying it with transfer tape. This is your personal workshop session to go straight to creating a decal you’ll be proud of.
Having everything you need within reach makes the process more fun. Here’s a listicle of what you'll need:
With your supplies gathered, it's time to fire up Cricut Design Space.
Here are the clear steps to create your decal:
A great way to build confidence is to start with a simple, blocky font or a basic shape. You'll get a clean result and feel ready for more intricate cuts later.
These exact skills are the foundation for so many other projects. For personalizing t-shirts or tote bags, the next step is to understand what Heat Transfer Vinyl (HTV) is. And as you build your craft corner, you can check out all the other essentials at https://www.amazinggiantflowers.com/collections/supplies to keep your creativity flowing.
Once you’ve got the hang of vinyl decals, you’re ready for paper and cardstock. This is where one of the most exciting Cricut features for beginners comes into play: Print Then Cut. It's the secret behind custom stickers, intricate gift tags, and beautiful layered cards.
The concept is powerful: you create a full-color design, print it on your home printer, and then your Cricut cuts perfectly around every edge.
Taking just five minutes to calibrate your Cricut before your first paper project will save you from wasted sticker paper and frustration. Calibration ensures your cuts line up perfectly with your printed image.
Here's how it works:
Trust me on this: don't skip calibration. It’s the difference between a sheet of flawless, professional-looking stickers and a pile of frustrating miscuts. Think of it like tuning a guitar before a show—it’s a small step that ensures everything works together perfectly.
Once your machine is calibrated, you can start making all sorts of incredible things. Here are a few use cases:
Using good, sturdy cardstock or high-quality photo paper will make your colors pop and give you much crisper images. It's that little bit of extra polish that takes a project from "homemade" to "handmade."
These paper skills also serve as a great foundation for more complex crafts. Once you’re comfortable with shaping paper, you can explore tutorials on how to make crepe paper flowers to build stunning, life-like bouquets.
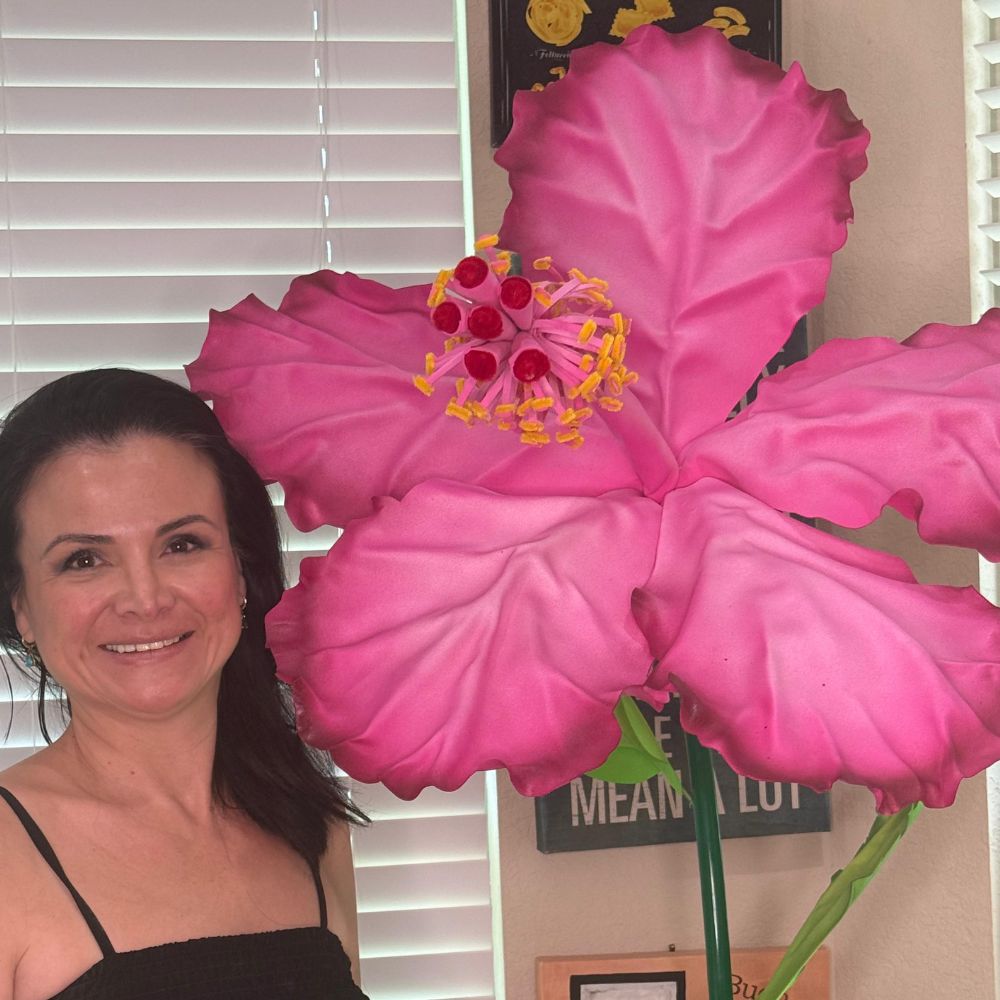
Ready to create something truly show-stopping? Let's talk about cutting EVA foam with your Cricut. This is where you can make incredible, oversized flowers that can transform a room. Your Cricut does all the heavy lifting, saving you from cutting every petal by hand.
The primary benefit here is the time you save and the flawless consistency you get. Your Cricut will churn out perfectly uniform petals every single time. This opens up a world of ambitious projects.
If you're curious about different materials, we have a fantastic guide that covers all the types of foam perfect for flower making.
Gearing Up for Foam Projects
Using the right gear from the start saves you headaches and prevents wasted material. Here’s a listicle of your essential toolkit for foam:
This simple diagram shows the basic workflow for a lot of Cricut projects. Once your design is loaded, the process is pretty much the same for foam.

The "print, calibrate, cut" flow highlights how your Cricut automates the precision work, letting you focus on the creative assembly.
With your tools and materials ready, it’s time for the fun part. For your first few projects, using a pre-made template (SVG file) is a great time-saver.
Use Case for Event Planners & DIYers: Imagine cutting all the petals for oversized roses for a wedding backdrop. Some studies show 65% of DIY crafters report faster assembly times just by using a Cricut. Cutting a set of complex leaf patterns can take less than 10 minutes—a task that could easily eat up an hour by hand. This efficiency has been shown to boost production for large projects by as much as 200%.
The real game-changer is consistency. When you're making a flower with 20 or more petals, having each one perfectly identical is what gives your final creation a professional, high-end look. Your Cricut ensures this every single time.
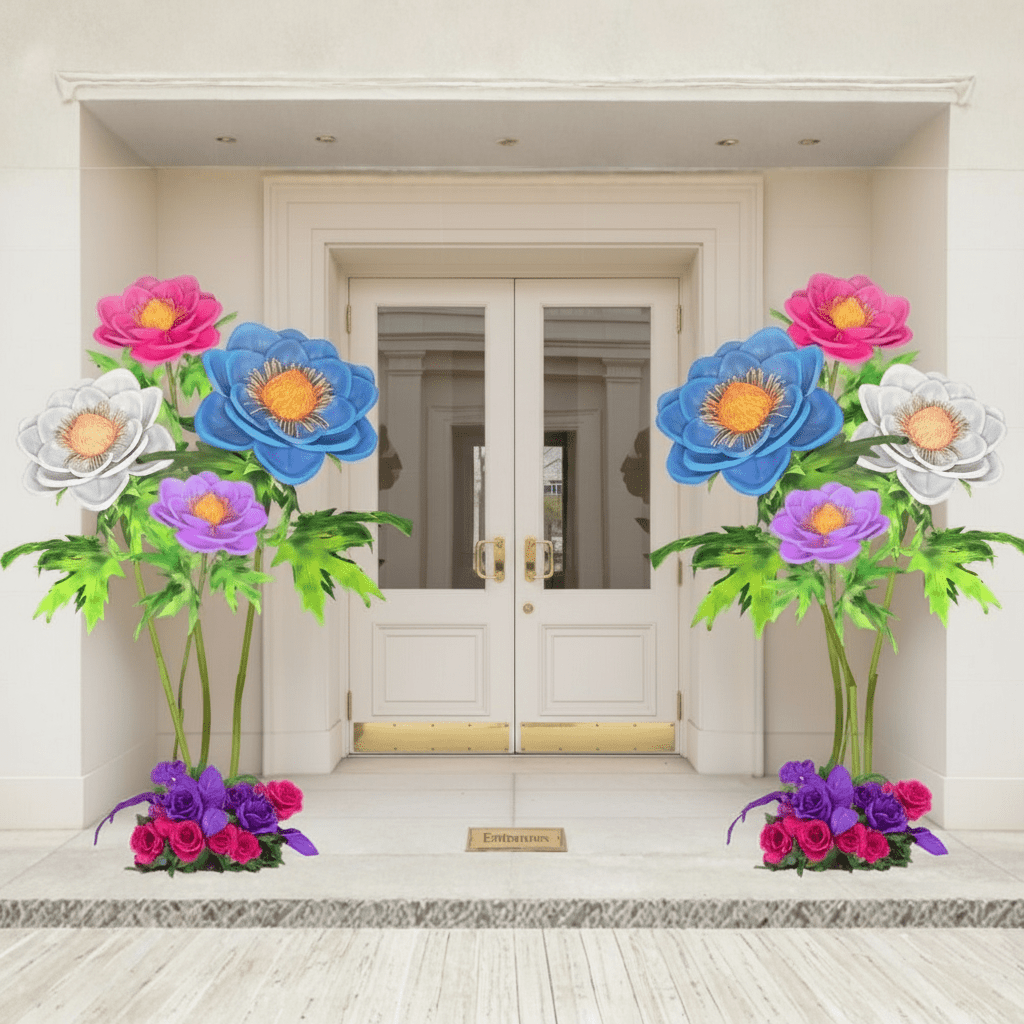
This newfound efficiency empowers you to take on truly large-scale art. You can create a breathtaking photo backdrop for a party, a vibrant window display, or a one-of-a-kind statement piece for your home.
Every new Cricut owner hits a snag now and then. Your fun crafting session can quickly feel frustrating when the machine acts up. Think of this as your cheat sheet for getting past those initial roadblocks.
This is a common issue. Nine times out of ten, the problem is a mismatch between your blade, mat, and material settings. Here’s a bullet point checklist to run through:
I tell every beginner this: before you hit "Go," ask yourself, "Is my mat's stickiness right for my material?" That one question can prevent over 90% of tearing issues. It’s a game-changer.
Sometimes just getting the machine ready can be a puzzle. Luckily, the fixes are surprisingly easy. Here are some common use cases and their solutions:
When you move on to advanced materials like EVA foam, a perfect cut is crucial. For a deeper dive, check out this guide on the best way to cut foam to sidestep those specific challenges. Mastering these simple troubleshooting steps will boost your confidence.
If you’re just unboxing your Cricut, you’ve probably got a million questions. Let's walk through some of the most common things new crafters ask so you can get started with confidence.
Hands down, the best project to start with is a simple vinyl decal. You can make one in under 30 minutes and have a personalized mug, water bottle, or laptop to show for it.
This project is a powerhouse for learning. Here are the benefits:
It’s a quick win that uses few materials, and that success is a huge confidence booster. It's easily one of the best cricut projects for beginners for a reason.
Not at all! You can make so many incredible things with just the basics. Here is a listicle of what you truly need to start:
That’s it. You can always add more materials like cardstock or iron-on vinyl later, once you figure out what you love making most.
My best advice? Focus on mastering one material at a time. Get really comfortable with vinyl decals first, then branch out.
Yes, it absolutely can! The Maker and Explore series machines can handle a surprising variety of materials, including thin EVA foam.
The trick to getting a clean cut on foam is using the Deep-Point Blade with a StrongGrip mat. This combination holds the foam securely and gives the blade the power it needs to slice through the thicker material. Using your Cricut for foam is a massive time-saver and gives you perfectly precise pieces every time—a total game-changer for ambitious projects like making giant flowers.
Think of an SVG (Scalable Vector Graphic) file as a ready-to-go digital pattern for your Cricut. It's a pre-made design that tells your machine precisely where to cut, draw, or score.
Use Case: Learning to find and upload SVG files into Design Space is like unlocking a secret level of crafting. It opens up a whole world of intricate, professional-looking designs that go way beyond what’s available in the standard library.
Feeling inspired to build something truly spectacular? The team at Amazing Giant Flowers specializes in DIY kits and supplies that help you create breathtaking art. We have all the EVA foam, templates, and tutorials you need to get started on your own stunning floral creations.
You can find everything you need to start building at the Amazing Giant Flowers website.
Ready to Create Something Amazing?
Browse our collection of giant flower kits and start your next project.
Shop All Flowers