Create Stunning Oversized Foam Flower Wall Art

You’re probably here because a blank wall is causing a disproportionate amount of stress.
The venue looks fine on paper, but the room still needs a focal point. The client wants something memorable. The couple wants photos that don’t look like every other ballroom backdrop. The brand team wants a selfie station people will readily use. Fresh florals may be beautiful, but they’re fragile, time-sensitive, and hard to reuse. Fabric walls are simple, but they often fall flat on camera.
That’s where oversized foam flower wall art earns its place. Done well, it solves more than a decor problem. It gives you scale, color control, portability, and a practical path from planning through storage. Its true value isn’t just in the reveal. It’s in how the piece performs before the event, during install, through guest traffic, and after teardown when you need it to work again.
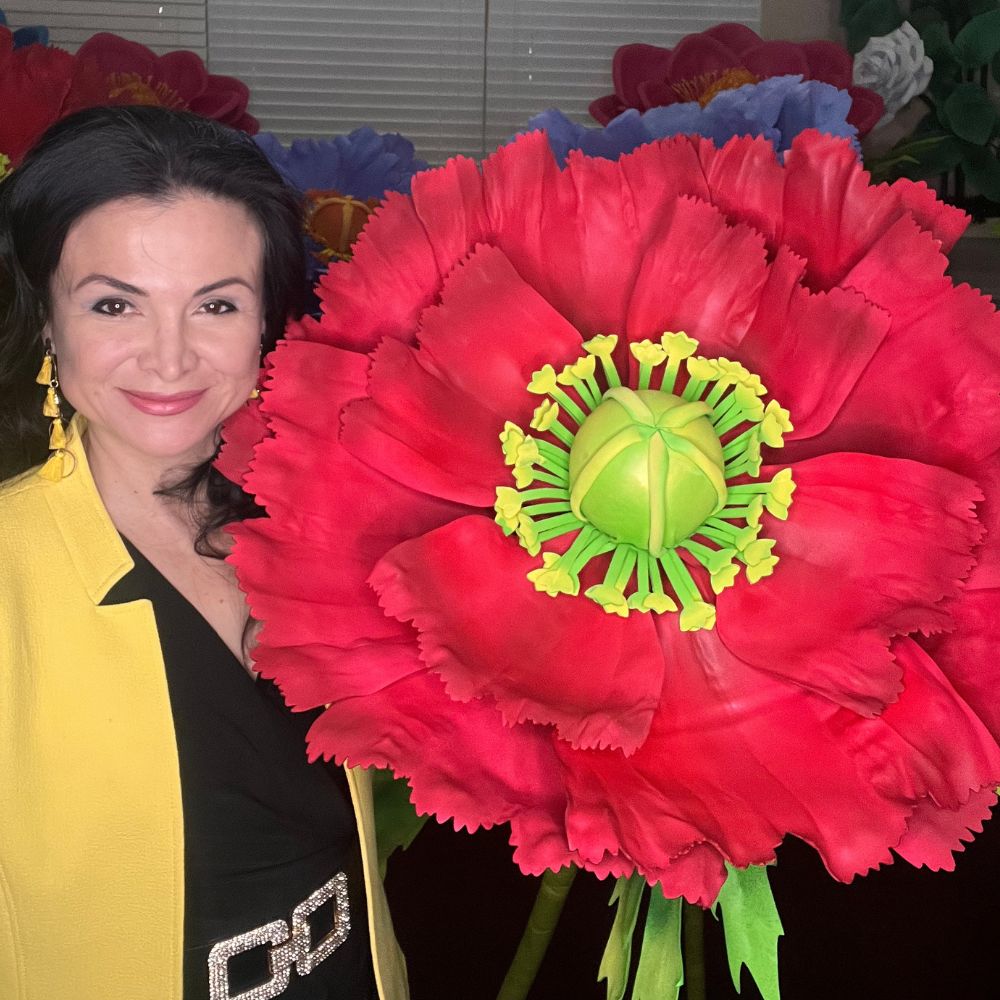
A strong flower wall changes how guests use a space. They stop. They gather. They take photos without being prompted. That matters whether you’re building for a wedding head table, a retail pop-up, or a branded activation.
Oversized foam flower wall art has become a serious event tool because it creates impact without the handling issues of fresh floral work. According to Amazing Giant Flowers’ inspiration context and product information, floral installations have contributed to a 25% increase in social media engagement for events with photo-worthy decor, and brands in major U.S. and European markets have reported a 15-20% uplift in Instagram shares from selfie stations. That tells you something planners already feel on-site. Guests respond to a backdrop that looks intentional in photos.

Why planners keep choosing foam
Foam works because it solves multiple production problems at once.
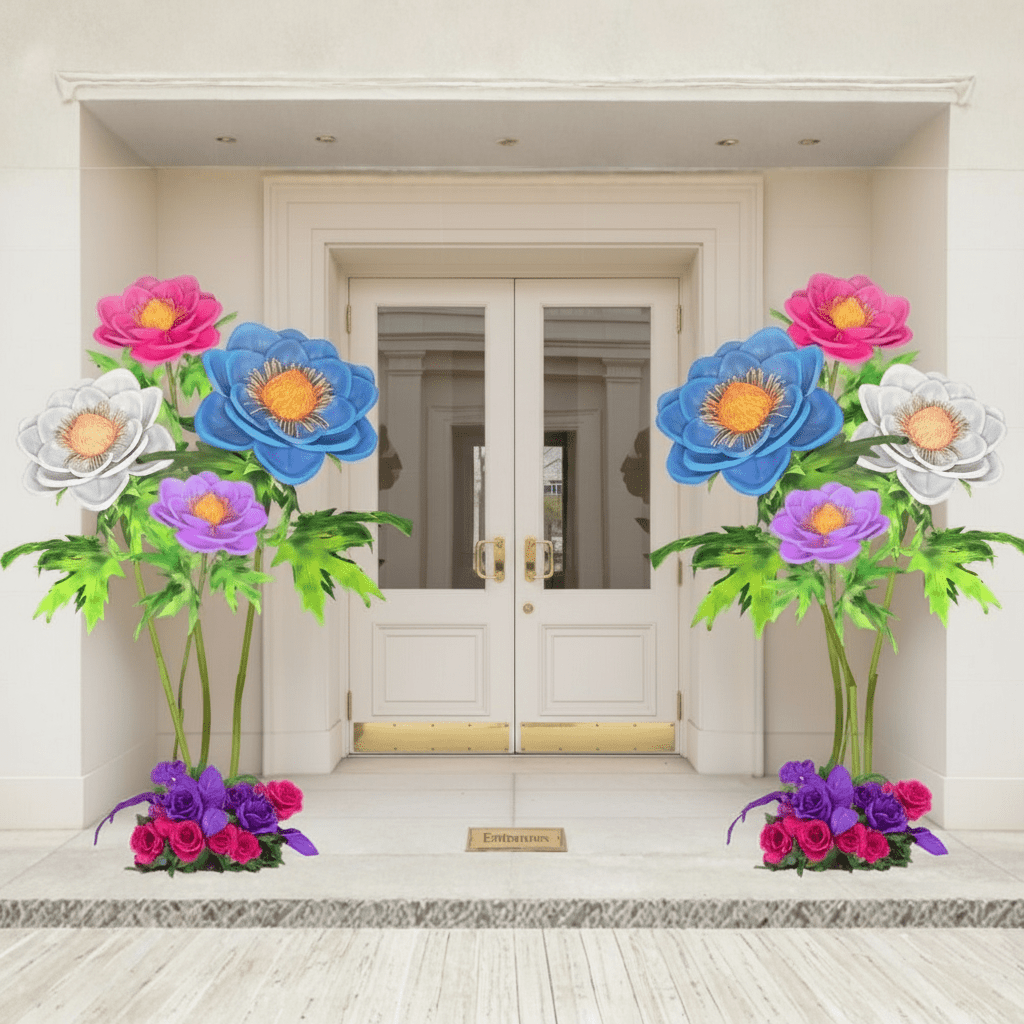
If you need visual direction, an oversized floral installation gallery helps clarify scale choices faster than a mood board full of unrelated references.
Practical rule: A flower wall should do one job clearly. Frame a photo moment, anchor a stage area, or define a focal point. When it tries to do all three at once, the design usually gets muddy.
Some of the strongest use cases are operational, not just aesthetic:
The biggest mindset shift is this. A foam flower wall isn’t filler decor. It’s a camera-facing asset that can shape traffic, improve guest interaction, and justify its footprint in the room.
Most flower wall problems start before anyone cuts a petal. The wall is too small for the ceiling height, too dense for the venue surface, or too ambitious for the timeline. Good planning prevents all three.
Measure the wall, then measure the room around it. Ceiling height, nearby doors, electrical access, sprinkler clearance, and guest flow matter as much as the backdrop footprint.
Use this planning sequence:
Define the function first
Is this for portraits, stage dressing, a brand moment, or general ambiance? A photo backdrop needs different density than a decorative wall people view from across the room.
Choose full coverage or focal clusters
Full walls create immersion. Clustered installations use fewer flowers and often look more sculptural. If budget is tight, a partial installation can look more intentional than a sparse full wall.
Check the viewing distance
A wall seen mostly in phone photos can rely on bold shape and color contrast. A wall guests will stand beside needs cleaner finishing and better depth.
The cleanest budgets break the project into parts:
This is also where DIY versus custom needs an honest answer. If your deadline is tight or the venue access is narrow, custom often saves stress because the work shifts upstream. If you have lead time and a hands-on team, DIY can be practical.
For teams weighing a rental-style backdrop approach against a build, this overview of flower wall backdrop rental considerations helps frame the trade-offs.
If the wall has to be built overnight, fit through a service elevator, and survive guest traffic the next day, simplicity beats ambition every time.
Use this before you commit to a design direction:
A professional timeline includes more than build hours. It includes approvals, material arrival, mockup decisions, packing, and an installation buffer. The common mistake is planning only for crafting time and forgetting the operational chain around it.
A workable flow usually looks like this:
- Concept and approval
- Material sourcing or kit ordering
- Prototype flower or color sample
- Full production
- Packing and labeling
- Venue install
- Post-event recovery and storage
If any one of those feels squeezed, reduce complexity early. Fewer, larger blooms with stronger spacing often outperform an overcrowded wall built in a panic.
A good DIY flower doesn’t come from fancy tools. It comes from controlling heat, glue, and structure.
The build that teaches the most is a giant rose because it exposes every weakness fast. If the center is weak, the bloom collapses. If the petals are overheated, edges warp or melt. If glue placement gets sloppy, the flower loses definition and starts looking heavy instead of dimensional.

For a giant foam rose measuring 180 cm in diameter, the build reference from this foam flower rose tutorial calls for 2-3 mm foam sheets and 15-20 meters of material. The petals are shaped with a heat gun, then layered from the smaller inner petals outward around a PVC pipe center secured with hot glue. The same source notes two common failure points. Overheating can cause 20% material waste, and insufficient glue at the center can lead to a 15% failure rate during assembly.
That’s why experienced makers obsess over prep. The flower is won or lost before final layering begins.
The assembly order that saves time
Use a repeatable sequence instead of improvising:
Cut all petals before heating
Batch cutting keeps petal families consistent. Mixed sizes can work stylistically, but accidental inconsistency usually looks messy.
Sort petals into inner, middle, and outer groups
Don’t leave them in one pile. Assembly moves faster when you can grab the next size without guessing.
Heat-shape lightly
Curl the edge enough to create movement. Too much shaping makes petals look stiff and overworked.
Build the center first
The inner petals establish the rose form. If this part isn’t tight and upright, outer petals can’t rescue it.
Add middle petals to widen the bloom Now the flower starts reading large instead of dense.
Finish with outer petals for silhouette
The outer ring is what the camera sees first. Keep the perimeter clean.
For cleaner edges and more predictable cuts, this guide on the best way to cut foam is useful if you’re refining your process.
What works
What doesn’t
A foam flower looks expensive when the center is crisp and the outer edge feels intentional. Most amateur builds fail in one of those two places.
A moving visual often helps more than static instructions. Watch the shaping and layering rhythm here before you start your first large bloom:
Keep your station simple and organized:
If you’re serious about oversized foam flower wall art, repeatability matters more than speed. Speed comes after you’ve built a process your hands trust.
The prettiest wall in the room can still fail the event if it mounts badly. This context demands the alignment of design and operations. You need a setup that looks clean, respects the venue, and stays stable through doors opening, HVAC airflow, and guest traffic.
High-quality EVA foam in the 2-5 mm thickness range is light enough for secure hanging without heavy tools, and a typical setup should stay around 8-10 flowers per square meter to avoid overloading walls, according to CV Linens’ foam backdrop guidance. The same source notes that hook-and-loop strips or zip ties attached to a PVC or wireframe backbone are sufficient for most venues.

The decision usually comes down to three venue realities.
First, ask whether you’re allowed to touch the wall. If the answer is no, move straight to a freestanding frame or a supported panel system. That avoids wasted time trying to negotiate exceptions onsite.
Second, ask whether the wall must sit flush. Retail displays and formal step-and-repeat alternatives often look better mounted close to a surface. Freestanding systems are practical, but they create depth behind the piece that may matter in tight rooms.
Third, ask who is installing it. If venue staff or a general event crew has to handle part of the setup, choose the least fussy method. A technically perfect mount that only one person understands is not a professional solution.
One product route for a stable freestanding approach is a plywood base with boxwood panel cover, which gives crews a foundation to attach decorative elements without relying on the venue wall itself.
Mounting should be boring. If your install method feels dramatic, it probably isn’t stable enough yet.
Ignoring the wall surface
Painted surfaces, textured walls, and temporary panels all behave differently.
Building too dense for the support
A fuller wall isn’t automatically better. Weight concentration matters.
Skipping a pre-hang test
Always test one section before committing the whole layout.
Forgetting teardown
If removal is going to damage the venue or the flowers, the install plan wasn’t finished.
The best mounts disappear visually. Guests should notice the flowers, not the engineering.
Once the wall is up, styling decides whether it looks custom or generic. The difference usually isn’t more flowers. It’s composition, spacing, and how the light hits the petal edges.

The strongest oversized foam flower wall art has breathing room. If every bloom is fighting for attention, the camera sees clutter. A better approach is to create hierarchy.
Try this mix:
A useful reference point for layout ideas is this collection of DIY photo booth backdrop ideas, especially if the wall needs to function as a photo zone rather than just decor.
Front light alone often flattens foam petals. You lose the shaping work that took hours to create. Side light, uplight, or a slight angle from above will reveal more texture and depth.
Use these lighting habits on site:
- Aim for angled light: It catches curl and dimension better than flat wash.
- Watch color temperature: Warm light softens romantic palettes. Cooler light can sharpen bold branded colors.
- Check phone camera results: If it looks good only to the naked eye, it’s not finished.
- Control hotspots: Glossy glue spots and harsh reflections show up fast under strong direct light.
Guests don’t photograph what you designed. They photograph what the lighting allows them to see.
People use a backdrop when the shot is obvious. If they have to guess where to stand, they’ll walk past it.
A few practical tweaks make a big difference:
Leave standing room in front
Don’t crowd the wall with cocktail tables, signage stands, or gift displays.
Give it a clear front-facing angle
Side access is useful, but the money shot needs to read instantly.Place the best cluster at head-and-shoulder height in photos
If all the strong detail sits too high, portraits won’t capture it well.
Use one simple prompt nearby
A subtle sign, branded phrase, or event hashtag can help without cluttering the scene.The goal is a wall that doesn’t need explaining. It should naturally pull people in and reward the camera from the first frame.
A lot of teams still treat large floral installs like disposable decor. That’s expensive thinking.
The smarter approach is to treat oversized foam flower wall art as inventory. That means you plan for teardown while you’re still planning the build. It also means accepting a hard truth. Durability is one of the least documented parts of this niche. As noted by Shop Wild Things’ product context on reusable foam flower backdrop demand, social media queries for “reusable foam flower backdrops” have spiked 40% in the last 12 months, yet there’s still very little concrete data on wear, UV fading, or humidity performance in high-traffic settings.
Most damage happens during rush-out, not during the event.
Use this order:
- Photograph the installed wall before removal: This helps with future resets and identifies where pieces belong.
- Remove flowers in reverse build logic: Take off the most exposed outer elements first.
- Separate hardware from floral pieces immediately: Don’t toss ties, strips, wire, and petals into one bin.
- Label sections while packing: Future-you will be grateful at the next install.
If a flower has been compressed, don’t force it flat into storage. Let it keep its shape as much as possible.
Transport without crushing your work
Transport is where beautiful builds become tired inventory. Petals catch, edges crease, and centers distort when pieces shift in transit.
A few habits prevent that:
- Use padded containers or divided bins: Flowers shouldn’t rub against hard hardware.
- Keep large hero blooms upright when possible: Flat stacking can misshape sculpted petals.
- Pack by zone or layout section: That speeds install and prevents unnecessary handling.
- Carry a repair pouch onsite: Glue, spare petals, ties, and finishing tools solve small failures quickly.
Storage that protects shape and finish
Storage needs the same care you’d give any dimensional visual asset. Dust, compression, and uncontrolled temperature swings are the usual enemies. If your team needs a general framework for protecting shaped pieces, How to Store Artwork is a useful reference because many of the same principles apply. Support the structure, prevent abrasion, and avoid stacking pressure that changes the form.
Reuse strategy that actually pays off
Not every wall should be reused in the same configuration. Reuse works best when you design for modularity.
Consider these approaches:
- Build in detachable clusters: Easier to rework for different venues.
- Use a palette that can cross event types: Blush, white, ivory, saturated brand colors, or seasonal mixes each have different reuse potential.
- Retire damaged pieces into filler roles: A flower that no longer works front and center may still work at the edge of a composition.
- Keep a simple inventory sheet: Note size, color, mount type, and condition after each event.
The most profitable flower wall isn’t the one that looked perfect for one night. It’s the one that can be rebuilt into three different looks without starting over.
If your current process ends when the event ends, you’re leaving value in road cases, closets, and damaged bins. Reuse doesn’t happen by accident. It happens because the wall was planned, packed, and stored like a professional asset.
If you need a custom installation or a DIY route for oversized foam flower wall art, Amazing Giant Flowers offers handcrafted giant floral pieces and EVA foam kits for backdrops, events, retail displays, and selfie stations.
Ready to Create Something Amazing?
Browse our collection of giant flower kits and start your next project.
Shop All Flowers